How to Repair a Frayed Braided Cable on a Premium Gaming Mouse?
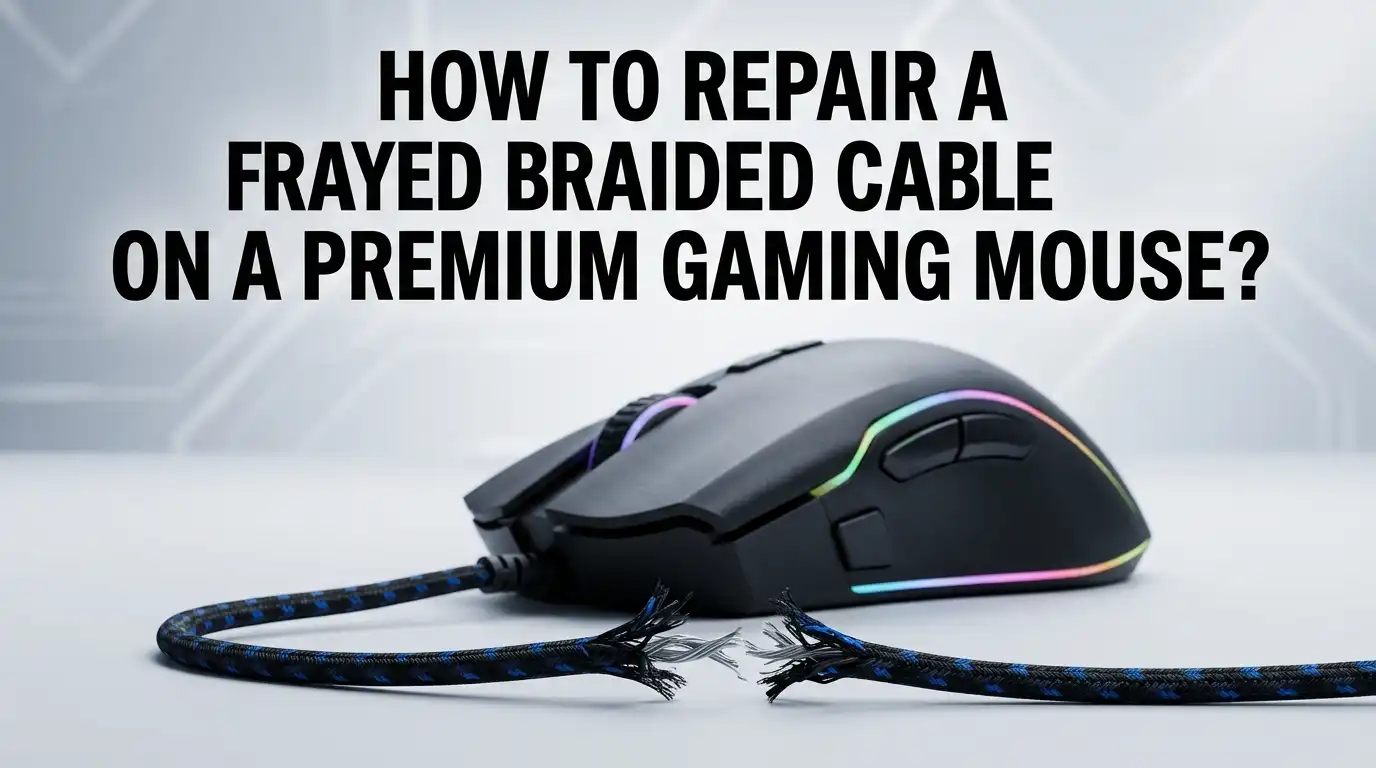
Your favorite gaming mouse just started showing its age. The braided sleeve near the strain relief is splitting open. The inner wires peek through the worn fabric. You can feel the panic setting in because a replacement mouse costs a lot.
The good news is simple. A frayed braided cable does not mean your premium gaming mouse is dead. Most cable damage happens on the outer sleeve, not the actual wires inside. You can fix this problem at home with cheap tools and a bit of patience.
This guide walks you through every method, from quick fixes that take five minutes to full cable replacements that bring your mouse back to factory condition.
In a Nutshell
- Identify the damage first. Check if only the braided sleeve is frayed or if the inner wires are exposed. Surface fraying needs cosmetic repair, while exposed copper needs electrical insulation.
- Heat shrink tubing is the best general fix. It seals the cable, prevents further fraying, and looks clean. Black 3:1 ratio tubing works best for most gaming mouse cables.
- Paracord sleeving offers a full upgrade. You can replace the entire braided sleeve with soft paracord for a lighter, smoother feel. This method takes longer but gives a near new cable experience.
- Electrical tape is a temporary band aid. It works in a pinch but looks ugly and leaves sticky residue over time. Use it only until you can do a proper repair.
- Strain relief is the weak spot. The area right behind the mouse and near the USB plug frays first because of constant bending stress.
- Soldering is needed only for severe damage. If wires are cut or broken, you must open the mouse and resolder the cable to the PCB.
Why Braided Cables Fray on Gaming Mice
Premium gaming mice use braided cables for a reason. The fabric sleeve looks clean and resists tangles. But the same braid that adds style also has weaknesses.
The woven threads catch on desk edges, monitor stands, and keyboard corners. Each tiny snag pulls a thread loose. Over months of daily use, those small pulls turn into visible fraying.
The braid also wears down at high stress points. The cable bends sharply right behind the mouse shell and at the USB plug. These two zones see the most movement during gameplay.
Friction from mouse mats and rough desk surfaces also speeds up the damage. Knowing the cause helps you prevent the same problem on your repaired cable.
Tools and Materials You Need for Repair
Gather your supplies before you start. You do not need a full electronics lab. Most items cost less than a pizza. Heat shrink tubing in 3mm, 5mm, and 8mm sizes covers most gaming mouse cables. A small heat gun works best, but a hair dryer on the hottest setting can do the job slowly.
You also need sharp scissors, a craft knife, electrical tape, and a lighter. For deeper repairs, add a soldering iron, solder wire, flux, and a multimeter.
Paracord 550 in your favorite color is needed only if you want to fully resleeve the cable. Keep tweezers, cotton swabs, and isopropyl alcohol nearby for cleanup. Lay everything on a clean, well lit desk before starting.
Step One: Inspect the Damage Carefully
Start by laying the mouse cable flat on a table. Run your fingers slowly along the entire length. Feel for soft spots, lumps, or rough patches. Look closely at three key areas: the section right behind the mouse, the middle of the cable, and the USB plug end. These spots take the most abuse.
If you see only loose fabric threads, the damage is cosmetic. If you spot the gray or black rubber insulation underneath, the braid is fully torn.
If you see colored wires (usually red, white, green, and black) or bare copper, the situation is more serious. Take a photo of the damage. This helps you compare before and after results. It also helps if you need advice from online repair forums later.
Step Two: Stop the Fraying From Spreading
Before any repair, you must stop the braid from unraveling further. Use a lighter to lightly melt the loose threads at the edge of the fray. Hold the flame two inches away and pass it quickly across the loose fibers. The synthetic braid will melt and seal itself. Do not touch the cable with the flame directly.
Another option is clear nail polish or fabric glue. Brush a thin coat over the frayed edges. Let it dry for ten minutes.
This method works well if you are nervous about using fire near your expensive mouse. Both methods stop the spread within minutes. Skipping this step means your repair will fail because the braid keeps tearing under the new cover.
Pros: Quick, cheap, and effective at locking down loose threads.
Cons: Melted braid looks dark and slightly uneven. Nail polish can feel stiff.
Step Three: The Heat Shrink Tubing Method
Heat shrink tubing is the cleanest and most popular repair. Choose tubing slightly larger than your cable diameter. 3:1 ratio tubing shrinks tighter and grips better than 2:1 versions. Cut a piece about one inch longer than the damaged area on each side.
You must unplug the USB end and slide the tubing onto the cable. There is no way to slip it on from the side without cutting and resoldering. Position it over the frayed section.
Apply heat evenly using a heat gun or hair dryer. Move the heat source around the tubing in slow circles. The tube shrinks tight in about thirty seconds. Let it cool for two minutes before touching it.
Pros: Looks professional, lasts for years, and adds extra strain relief.
Cons: Requires unplugging the USB, which means the mouse cannot be used during repair time.
Step Four: The Electrical Tape Quick Fix
If you need to game tonight, electrical tape works as an emergency fix. Cut a strip about three inches long. Start wrapping below the damaged area and work upward at a slight angle. Overlap each turn by half the tape width. This creates a smooth, water resistant seal.
Press the tape firmly as you wrap. Smooth out air bubbles with your thumb. Use only quality vinyl electrical tape, not duct tape or Scotch tape. Vinyl tape stretches and conforms to the cable shape.
It also handles the constant bending without peeling. The downside is appearance. Black tape looks fine, but the wrap is always visible. Over six months, the adhesive often turns sticky and slides around.
Pros: Fast, requires no special tools, and reversible.
Cons: Looks unprofessional, leaves residue, and degrades within months.
Step Five: Full Paracord Sleeve Replacement
This is the premium fix. Paracord sleeving gives your mouse a softer, more flexible cable with almost no drag. Buy 550 paracord in your color of choice.
Remove the inner strands first by pulling them out, leaving only the hollow outer sheath. Cut a length about six inches longer than your mouse cable.
You must open the mouse and desolder the cable from the PCB. Slide the old braid off (you may need to cut it carefully). Feed the cable through the paracord sheath.
This step takes patience because the cord is tight. Resolder the cable back onto the PCB. Use heat shrink at both ends to lock the paracord in place. Close the mouse shell.
Pros: Lightweight feel, custom colors, and almost zero cable drag during gameplay.
Cons: Requires soldering skills, voids warranty, and takes two to three hours.
Step Six: Handling Exposed Inner Wires
If the inner colored wires are showing but not cut, you still have hope. Clean the area with a cotton swab dipped in isopropyl alcohol. Check each wire for nicks or breaks by gently flexing them. If the insulation on the inner wires looks intact, you only need to cover them.
Wrap each individual wire with a thin strip of electrical tape if any insulation is scuffed. Then bundle them together and cover with heat shrink tubing. Add a second, larger layer of heat shrink over the first for extra strength.
This double layer protects the wires from future bending stress. Test the mouse by plugging it in and moving the cable while watching the cursor. If the cursor jumps, you have a broken wire that needs soldering.
Step Seven: Soldering Broken Internal Wires
This step is for users with intermediate skills. Open your mouse by removing the screws under the mouse feet. Carefully lift the top shell without yanking any ribbon cables. Locate where the cable connects to the PCB. Some mice use solder points, others use a small JST plug.
If the cable solders directly to the PCB, heat each joint with your iron and gently pull the wire free. Strip a small piece of insulation off each broken wire.
Twist the matching colored wires back together. Apply flux, then solder each joint cleanly. Cover each joint with a tiny piece of heat shrink. Reassemble the mouse and test before closing the shell fully.
Pros: Restores full function even with severe damage.
Cons: Requires soldering practice and can damage the PCB if done wrong.
Step Eight: Adding Strain Relief Reinforcement
After your repair, add strain relief to prevent future damage. The zip tie mod is a popular trick in the gaming community.
Place a small zip tie around the cable about two inches behind the mouse. Tighten it gently, then trim the tail. This shifts the bending stress away from the original strain relief.
Another method uses a small piece of silicone tubing or a spring from a retractable pen. Slip the spring over the cable near the mouse. It acts like a flexible support that prevents sharp bends. You can also add a cable bungee on your desk to keep the cable lifted. Less bending means longer cable life.
Pros: Cheap, simple, and adds years to cable lifespan.
Cons: Slightly changes the look of the mouse near the cable exit.
Step Nine: Testing Your Repaired Mouse
Always test your work before declaring victory. Plug the mouse into your computer. Open a mouse testing website or your game of choice. Move the cursor in slow circles to check for tracking issues. Then wiggle the cable at the repair point while watching the cursor.
If the cursor freezes or jumps during wiggling, you have a loose connection inside. Try clicking each button several times. Test the scroll wheel and side buttons too.
Run the test for at least ten minutes to catch intermittent problems. If everything works, do a quick gaming session to confirm reliability under real conditions. A solid repair should feel exactly like the original cable.
How to Prevent Future Fraying
Prevention is easier than repair. Route your cable so it does not rub against sharp desk edges. Use a mouse bungee to lift the cable off the desk surface. This single device prevents most fraying problems. Bungees cost less than fifteen dollars and last forever.
Clean your cable monthly with a slightly damp cloth. Dust and skin oils break down the braid material over time. Avoid pulling the mouse by the cable when unplugging.
Always grip the USB plug itself. If you travel with your mouse, wrap the cable loosely in a wide loop. Tight wraps create permanent kinks that lead to fraying. Small habits add up to years of extra cable life.
When to Just Replace the Cable Entirely
Sometimes repair is not the smart choice. If your cable has multiple frayed spots along its length, patching each one looks messy. If inner wires are cut in more than one place, soldering becomes risky. Some premium gaming mice use proprietary connectors that make full cable swaps easy.
Check if your mouse model has a detachable cable design. Many newer models from leading brands use USB C ports inside the mouse shell.
A replacement paracord cable costs around twenty dollars and installs in seconds. Compare this to spending two hours on a complex repair. If your mouse is older than three years, a fresh cable also refreshes the whole feel of the device.
FAQs
Can I use super glue to fix a frayed braided cable?
Super glue is not a good choice. It dries hard and brittle. The repaired spot becomes a stiff point that cracks under bending. Glue also seeps into the braid and looks ugly. Stick with heat shrink tubing or paracord sleeving for proper results.
Will repairing my mouse cable void the warranty?
Yes, in most cases. Opening the mouse shell or modifying the cable usually breaks the manufacturer warranty seal. Check your warranty status first. If your mouse is still covered, contact the brand for a free repair or replacement before doing any DIY work.
How long does a heat shrink repair last?
A properly done heat shrink repair lasts for years. The tubing is tough, flexible, and resistant to heat and chemicals. Some users report repairs holding strong for over five years of daily gaming. Quality of the tubing and how well you applied heat matters most.
Can I fix a frayed cable without opening my mouse?
Yes, for surface fraying you do not need to open the mouse. Heat shrink tubing slides on from the USB end. Electrical tape wraps directly over the damage. Opening the mouse is only needed for full sleeve replacement or soldering work.
Is paracord sleeving worth the effort?
Paracord sleeving is worth it if you value cable feel during gaming. The soft sheath reduces drag and makes the cable feel almost wireless. Competitive gamers especially love the upgrade. For casual users, simple heat shrink repair gives enough improvement at much less effort.
What causes braided cables to fray faster than rubber ones?
Braided cables fray because the fabric threads catch on rough surfaces. Rubber cables slide smoothly without snagging. The braid itself is the weak point, not the inner wires. This is why many premium gaming mice now ship with paracord cables instead of traditional braided ones.

Hi, I’m Jessamine Rowell, the founder and voice behind ResizeMake (https://resizemake.com/), a space where I share my love for technology with the world. I write detailed and honest reviews on the latest tech products, gadgets, electronic devices, and trending Amazon items to help readers make smarter buying decisions.