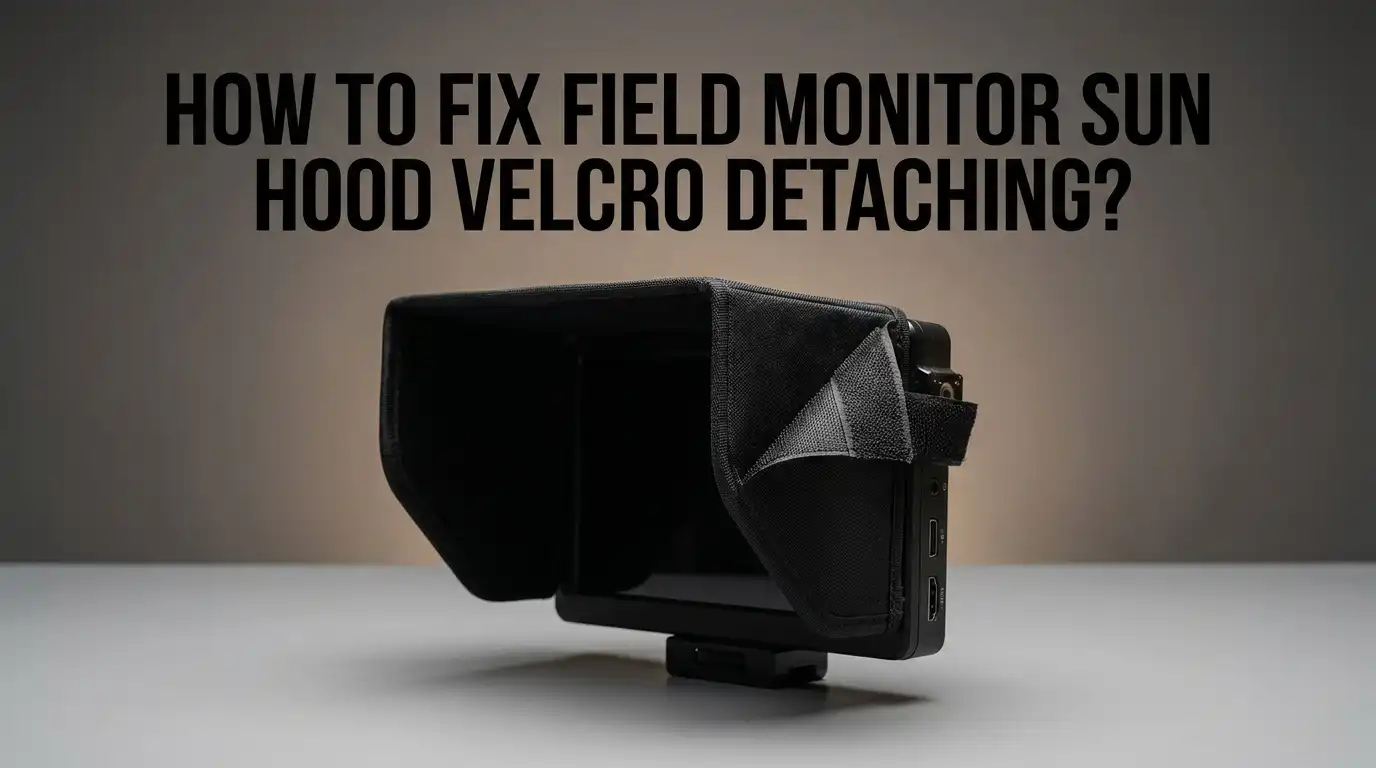
How To Fix Field Monitor Sun Hood Velcro Detaching?
Your field monitor sun hood keeps falling off at the worst possible moment. You are mid shoot, the sun glares across your screen, and the velcro just gives up. It happens to almost every filmmaker who works outdoors.
This problem is more common than you think. Velcro adhesive breaks down over time. Heat, cold, and constant handling weaken its grip. Soon your sun hood detaches right when you need it most.
The good news is that you can fix this issue for good. This guide walks you through simple, practical ways to keep your sun hood attached. You will learn why velcro fails in the first place and how temperature changes affect adhesive strength.
In a Nutshell
- Adhesive breaks down over time. Heat and repeated use weaken the sticky backing on velcro strips. This is the main reason your sun hood keeps falling off.
- Simple velcro replacement often is not enough. Even new velcro straps can fail again if you do not reinforce them properly. You need a better attachment method.
- Custom snoots offer a durable fix. Using materials like Cinefoil or blackwrap gives you extended coverage. This blocks glare better than standard sun hoods.
- Quick release mechanisms save time in the field. They let you attach and remove your sun hood fast. This is very useful during quick setup changes.
- Mounting conflicts need attention too. Three channel focus systems can block hood placement. Plan your setup before you attach anything.
- Longer cables or wireless receivers help. These let you position your monitor away from tight mounting spots. This reduces pressure on your velcro attachment points.
Why Sun Hood Velcro Fails in the Field
Velcro adhesive fails for several specific reasons on field monitor sun hoods. The main culprit is heat exposure during outdoor shooting. Direct sunlight warms the monitor and the velcro backing, causing the glue to lose its grip over time.
Repeated attachment and detachment cycles also wear down the adhesive bond. Each time you pull the hood off, tiny fibers tear away from the surface. After dozens of uses, the velcro simply cannot stick anymore.
Moisture and dust create another major problem. Sweat from your hands, rain, or humidity in the air interferes with adhesive contact. Dust particles settle between the velcro and the monitor surface, preventing a clean seal. The glue needs direct contact to work properly.
Temperature swings during location shoots accelerate degradation too. Moving from a cool morning to hot afternoon causes the adhesive to expand and contract. This stress breaks the chemical bond that holds the velcro in place.
The quality of the original velcro matters significantly. Many sun hoods come with budget adhesive that degrades faster than premium options. The backing may be too thin to withstand field conditions.
Mounting pressure also plays a role. When you attach the hood at an angle or apply uneven pressure, certain sections experience more stress than others. Weak spots develop where the velcro bears the most weight.
Finally, the monitor surface itself affects adhesion. Smooth plastic holds velcro better than textured or weathered surfaces. If your monitor casing is scratched or worn, the velcro has fewer points to grip.
Understanding these causes helps you choose the right repair method. Simple replacement often fails because the underlying problem remains unsolved.
Tools and Materials Needed for a Lasting Fix
Before you start fixing your sun hood velcro issue, gather the right supplies. You will need several basic items to make this repair last.
Velcro strips form your foundation. Purchase adhesive backed velcro in both hook and loop varieties. Get industrial strength versions rather than standard craft store options. These handle temperature changes and repeated use much better. Consider self adhesive velcro that comes in rolls so you can cut custom sizes.
Cleaning supplies are essential. Rubbing alcohol removes old adhesive residue from your monitor surface. Use lint free cloths to avoid leaving fibers behind. This step matters because new velcro will not stick properly to dirty surfaces. A plastic scraper helps remove stubborn old adhesive without damaging your screen.
Reinforcement materials strengthen your fix. Fabric glue or contact cement provides extra holding power beyond adhesive backing alone. Some people use thin metal brackets or plastic strips to mechanically reinforce velcro attachment points. These prevent peeling at the edges.
Measuring and cutting tools ensure proper sizing. A ruler or measuring tape helps you position velcro correctly. Sharp scissors or a utility knife cut velcro strips to exact dimensions. Proper sizing prevents overlap issues that cause premature failure.
Optional durability upgrades include small rubber washers or spacers. These distribute pressure more evenly across velcro contact points. Some users add thin weather stripping around edges to seal gaps.
Testing supplies verify your work. Keep a small weight or clamp handy to press velcro firmly for 24 hours after application. This allows adhesive to cure properly before field use.
Start with quality velcro and thorough surface preparation. These two factors alone determine whether your repair lasts through multiple shooting days.
Step-by-Step: Reattaching and Reinforcing Sun Hood Velcro
Start by cleaning both the monitor surface and the back of your sun hood with rubbing alcohol. Let everything dry completely for at least five minutes. This removes dust, oils, and old adhesive residue that prevent new velcro from sticking properly.
Cut your velcro strips to size before applying them. Make sure the hook side (rough texture) goes on the monitor and the loop side (soft texture) goes on the sun hood. Press firmly for 30 seconds after placement to ensure good contact.
Reinforce the velcro attachment by adding small rubber washers or spacers at the corners. These create pressure points that distribute weight evenly and prevent peeling at the edges. Position them about half an inch from each corner.
For extra durability, wrap thin fabric tape around the edges where velcro meets the monitor. This seals the bond and protects against moisture entering the adhesive layer. Leave a small gap so you can still peel back the velcro when needed.
Test your reattached hood by gently tugging on it from different angles. It should hold firm without any movement. If any section lifts, apply additional pressure or reinforce that spot with extra tape.
Let the adhesive cure for 24 hours before using the hood in the field. This waiting period allows the bond to reach full strength. Avoid exposing it to heat or sunlight during this time.
Check your work regularly during the first week of use. Press down any edges that start lifting and note which areas need reinforcement next time. This helps you identify weak points in your specific setup.
Working Around Focus Systems and Other Mounted Accessories
When your focus system sits mounted on the monitor, sun hood placement becomes tricky. The focus system takes up real estate on top of your screen. Your sun hood needs to fit around it without interference.
Start by measuring your focus system’s exact footprint. Note where the mounting bracket connects and how far it extends. This tells you where your sun hood can actually attach.
Position your sun hood slightly offset if the focus system blocks the center. Many operators mount the hood to one side rather than dead center. This keeps both accessories functional without conflict.
Check if your velcro attachment point sits below the focus system. Lower placement on the monitor often avoids the mounted accessory entirely. You gain stable contact on a clear surface area.
Consider using a quick release plate system instead of permanent velcro. These plates attach once to both your monitor and sun hood. You can then disconnect them when swapping focus systems. This prevents repeated velcro stress from multiple attachment cycles.
If your focus system has adjustable arms or brackets, reposition it slightly. Moving it left or right can open up better velcro mounting spots. Just ensure your focus puller still has clear view of the monitor.
Test the combination before heading to set. Mount your focus system first, then your sun hood. Simulate actual use by pulling on the hood gently. Make sure nothing shifts or creates pressure points.
Document the final positioning with photos or measurements. When you need to remove and reattach your hood later, you’ll know exactly where it goes. Consistency prevents repeated velcro failure from constant repositioning.
Building a Custom Snoot for Extra Glare Coverage
A custom snoot extends your sun protection far beyond what standard hoods provide. This approach works especially well when glare remains problematic even after fixing your velcro issues.
Start by understanding what a snoot does. It’s a light blocking tube that surrounds your monitor screen. The snoot prevents light from entering from multiple angles, not just the front. This gives you significantly better image visibility in bright outdoor conditions.
Blackwrap and Cinefoil are your primary materials here. Both are flexible, matte black materials that absorb light instead of reflecting it. You can shape them to fit your specific monitor and accessory configuration. They’re lightweight and won’t add excessive weight to your rig.
Measure your monitor dimensions first. Include the depth from screen to the back of your monitor housing. Add extra length beyond these measurements for the snoot extension. A snoot typically extends 4 to 8 inches beyond the monitor face, depending on your setup.
Cut your material into a rectangular piece. Roll it into a tube shape around your monitor. Secure the seams with gaffer tape or quality black tape. Make sure the material doesn’t touch your screen directly, as this can cause damage.
Test your custom snoot in various lighting conditions. Adjust the length if you still see glare entering from the sides or top. You can easily trim or extend the material as needed.
The beauty of this approach is flexibility. Unlike velcro solutions, your snoot adapts to different monitor positions and focus system placements. You can also remove it quickly when you don’t need extra coverage. This method eliminates adhesive failure entirely while providing superior glare blocking for challenging outdoor shoots.
Tips for a Faster, More Secure Setup in the Field
Getting your field monitor sun hood back in place quickly matters when you’re on set. The key is preparation before problems happen.
Clean surfaces first. Dust and debris make velcro fail faster. Use a dry microfiber cloth on your monitor screen and the back of your sun hood. This simple step takes 30 seconds but prevents future detachment.
Keep replacement velcro in your kit. Bring adhesive-backed velcro strips in multiple sizes. Store them in a small plastic bag to protect the adhesive from lint and dust. Having supplies ready means you fix issues in minutes, not hours.
Practice your attachment routine. Before heading to set, attach and detach your sun hood five times. This builds muscle memory. You’ll know exactly how much pressure to apply and where the velcro grips best.
Use the hook side on the monitor. Hook velcro (the rough side) sticks better to smooth surfaces like monitor screens. The loop side (soft side) goes on your sun hood. This arrangement reduces accidental detachment during setup.
Check your hood angle. Position it so the weight distributes evenly across the velcro attachment points. Uneven weight causes one corner to peel away first. Adjust until the hood sits parallel to your monitor.
Test before rolling. Once attached, gently tug the hood from different angles. It should resist movement but not feel permanently stuck. You want secure attachment that still allows quick removal when needed.
Document your setup. Take a photo of your final positioning. If the hood detaches later, you’ll remember exactly how it was secured. This saves troubleshooting time on future shoots.
Common Mistakes That Cause Repeated Detachment
Velcro detachment happens repeatedly because people make the same mistakes over and over. Understanding these errors helps you avoid them.
The biggest mistake is relying only on adhesive backed velcro without reinforcement. Many users apply velcro strips and expect them to hold forever. Adhesive alone fails quickly, especially in outdoor heat and humidity. Temperature changes cause the glue to weaken. Moisture speeds up this breakdown. Your sun hood ends up on the ground when you need it most.
Another common error is applying velcro to dirty or dusty monitor surfaces. Dust particles sit between the adhesive and your monitor screen. This creates a weak bond that fails immediately. People rush through the prep work and skip cleaning steps entirely.
Inadequate sun hood length causes repeated detachment for a different reason. When your hood is too short, it doesn’t provide proper glare protection. You compensate by moving it around constantly. This repeated repositioning stresses the velcro attachment. More movement means faster failure.
Mounting conflicts with focus systems also lead to problems. People attach velcro without measuring where their focus system sits. The hood catches on the focus system bracket during use. This creates tension that pulls the velcro away from the monitor surface.
Many users also fail to let adhesive cure properly. They apply velcro and use the hood immediately. The adhesive needs time to set completely. Rushing this step guarantees premature failure.
Finally, people don’t inspect their velcro regularly. Worn or dirty velcro loses its grip gradually. Checking your attachment weekly catches problems before complete failure. Regular maintenance prevents the frustration of repeated detachment during important shoots.
Troubleshooting Persistent Adhesion Problems
When velcro keeps detaching from your field monitor sun hood, the problem usually runs deeper than just bad adhesive. Your adhesive fails because of moisture, heat, and repeated stress during shoots. Understanding why this happens helps you fix it permanently.
Temperature changes cause velcro to weaken. When you move from an air conditioned truck to hot sunlight, the adhesive loses grip. Humidity also breaks down the bond over time. If you’re shooting outdoors for hours, expect adhesive failure.
The surface underneath matters more than most people realize. Dust, oils, and fingerprints prevent velcro from sticking properly. Even a clean looking monitor surface often has invisible residue. This is why your velcro detaches even when new.
Repeated attachment and removal accelerates the problem. Every time you pull off your sun hood, you stress the adhesive. After dozens of uses, the bond simply gives up. This is completely normal and expected.
Mounting conflicts also cause persistent issues. If your focus system, wireless receiver, or other accessories sit near your velcro attachment point, they create pressure that peels the hood away. The hood catches on these accessories during movement.
To solve persistent adhesion problems, you need a multi step approach. First, clean your monitor surface thoroughly with a dry cloth. Remove all dust and residue. Second, replace your velcro with fresh strips designed for repeated use. Third, reinforce your velcro with a mechanical backup like a strap or quick release system. Fourth, check for mounting conflicts with nearby accessories.
The real fix is stopping reliance on adhesive alone. Add a backup attachment method. This prevents detachment even when velcro eventually fails. Your sun hood stays put through the entire shoot.
Final Thoughts
Fixing a detaching sun hood does not need to be complicated. Most problems come down to weak adhesion and lack of backup support. Once you understand this, the fix becomes simple.
Start by treating velcro as a temporary solution. Adhesive alone will always struggle against heat, dust, and repeated use. Your goal is to build a system, not rely on one strip of tape.
Combine methods for the best results. Use velcro for quick attachment, but add straps or clips as a backup. This way, one failure does not ruin your shot.
Clean your monitor surface every time before attaching new velcro. This small habit prevents most future problems. Skipping this step is the fastest way back to square one.
Think about your shooting environment too. If you work in heat or humidity, plan for faster velcro breakdown. Carry spares and check your setup often during long days.
Custom solutions also help long term. A snoot made from blackwrap or Cinefoil can outperform standard hoods. It blocks more light and can be shaped around other accessories.
Don’t ignore mounting conflicts either. If your focus system takes up space, adjust your hood design instead of forcing a tight fit. Working with your gear layout saves time and frustration.
Finally, remember that quick fixes work best when paired with good habits. Testing your setup before rolling is not optional. It only takes a minute, and it saves your shot.
Field monitor sun hoods will always face wear from heat, movement, and constant handling. But with the right approach, you can stop this from disrupting your work.
A little preparation now means fewer surprises later.
Frequently Asked Questions
Why does velcro keep detaching from my field monitor sun hood?
Velcro adhesive weakens over time due to heat, dust, and repeated use. Temperature changes are a major culprit. When you move your monitor from a cool vehicle into direct sunlight, the adhesive loses its grip. Each time you remove and reattach the hood, you stress the velcro further. The monitor surface itself matters too. Dust or residue prevents proper adhesion from the start.
The real issue is relying on adhesive alone. Velcro needs backup support to stay put during active shooting.
Can I use velcro straps instead of adhesive backed velcro?
Yes, straps work better than adhesive in many situations. They wrap around your monitor and sun hood without depending on glue. However, straps can still slip if they’re not tight enough or if your hood shifts during use.
Combine straps with other attachment methods for best results. You might add a secondary strap or use a quick release mechanism alongside your velcro straps.
What should I do before applying new velcro?
Clean your monitor surface thoroughly every single time. Use a dry cloth to remove dust, fingerprints, and any residue. Let the monitor dry completely before attaching velcro.
Apply fresh velcro strips carefully. Press firmly for at least 30 seconds. Allow the adhesive to cure for several hours before using your monitor in the field.
How do mounting conflicts affect velcro attachment?
Focus systems and other accessories mounted on your monitor create physical obstacles. These conflict with where you place your sun hood. The hood may not sit flat or centered, causing uneven pressure on the velcro.
Plan your accessory layout before attaching your hood. Ensure your sun hood sits properly without interference from other gear.

Hi, I’m Jessamine Rowell, the founder and voice behind ResizeMake (https://resizemake.com/), a space where I share my love for technology with the world. I write detailed and honest reviews on the latest tech products, gadgets, electronic devices, and trending Amazon items to help readers make smarter buying decisions.