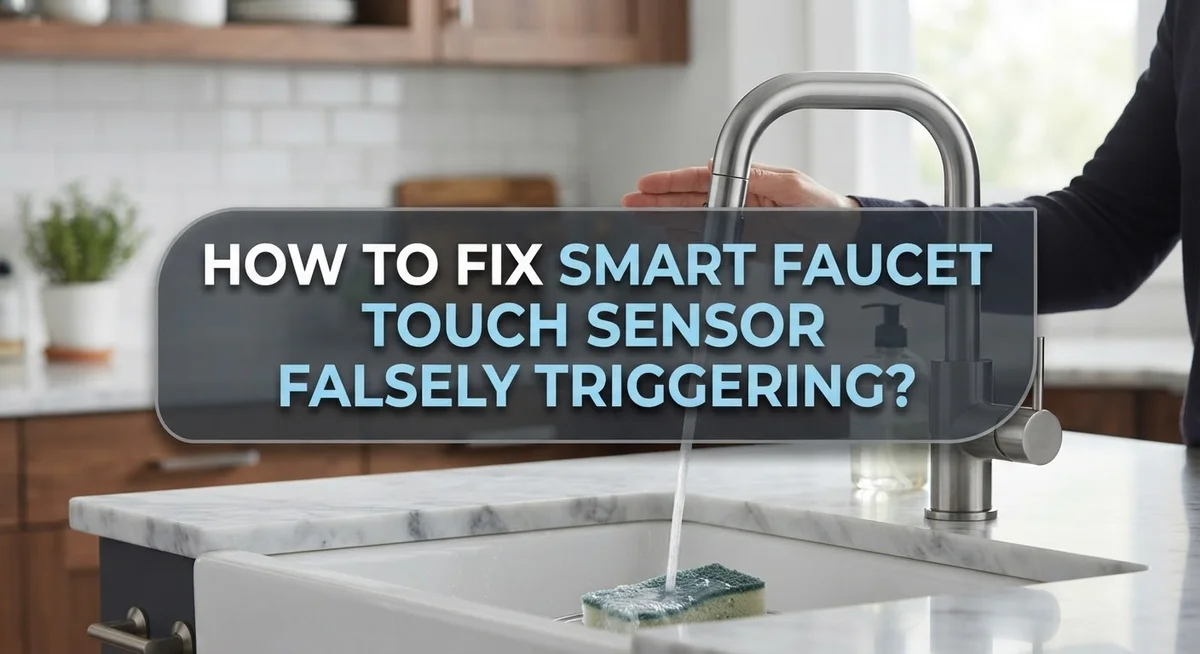
How To Fix Smart Faucet Touch Sensor Falsely Triggering?
Does your smart faucet turn on by itself? Does it spray water when no one stands nearby? This is called false triggering, and it happens more often than you think.
A touch sensor faucet should make your kitchen life easier. But when it activates on its own, it becomes frustrating fast. Water waste and unexpected messes follow close behind.
The good news? You can fix this problem yourself. Most false triggering issues come from simple causes. Loose wiring, dirty sensors, or metal interference near the sink often trigger the glitch.
This guide walks you through the exact steps to diagnose your faucet. You will learn how to safely check wiring connections under the sink. We cover cleaning tips for sensor areas too.
In a Nutshell
- Power down first. Always turn off the water supply and electrical power before you touch anything. This keeps you safe and protects the sensor from damage.
- Check the wiring. Look under your sink for loose or rusty connections between the sensor and control box. A simple screwdriver often solves this issue.
- Clean the sensor area. Wipe away grime, soap residue, or buildup around the sensor. Dirty sensors often cause random activation.
- Remove metal debris. Steel wool, metal scrubbers, or stray utensils near the sink can confuse the sensor. Keep this area clear at all times.
- Reset your system. Disconnect power for several minutes, then plug it back in. This simple step often clears minor glitches instantly.
- Know your model number. Different faucet brands have unique fixes. Having your model number ready helps you find specific support resources quickly.
Understanding Why Smart Faucet Sensors Falsely Trigger
Smart faucet sensors detect motion or touch to turn water on and off. When they falsely trigger, your faucet sprays water without anyone touching it or standing nearby. This wastes water and creates frustration in your kitchen.
Loose wiring is one of the most common culprits. The connections between your sensor and the control box sit under the sink. Over time, vibrations from daily use loosen these wires. Corrosion also builds up on metal connectors, blocking electrical signals. When signals weaken, the sensor misinterprets normal conditions as a touch command.
Sensor contamination causes many false triggers too. Your sensor sits near soap, water droplets, and kitchen grime. A dirty or wet sensor sends confused signals to the control box. The system cannot tell the difference between actual contact and surface buildup. This confusion leads to unwanted activation.
Metal interference is another sneaky cause. Steel wool, metal scrubbers, or stray utensils near your sink create electromagnetic interference. Your sensor picks up these signals and thinks someone touched it. Even small pieces of metal left on the counter can trigger false activations.
Electrical interference from other appliances matters too. Microwaves, dishwashers, and other electronics emit signals that sensors sometimes pick up. If your faucet acts up when you use another kitchen appliance, interference is likely the problem.
Power supply issues create erratic behavior. A fluctuating electrical current confuses the sensor’s circuits. Your faucet might turn on randomly or stop responding to real touches. Voltage problems often occur when wiring connections are loose or corroded.
Understanding these causes helps you fix the problem faster. Each cause points to a specific solution. Start by checking your wiring and cleaning your sensor area. These two steps solve most false triggering issues. If problems continue, you likely have interference or power supply problems to address next.
Safety First: Powering Down Before Any Repair
Before you open any panels or touch any wiring, you need to shut everything down safely. This step protects you from electrical shock and prevents water damage to your home.
Start by turning off the water supply. Look under your sink for the shut off valve. This valve sits on the water line feeding your faucet. Turn it clockwise until it stops. If you cannot find it, locate your main water shut off valve outside or in your basement. Test the faucet to confirm water stops flowing.
Next, cut the electrical power. Most smart faucets connect to a power outlet under the sink or near your cabinet. Unplug the adapter from the wall outlet. If your faucet runs on batteries, remove them now. Do not skip this step. Live electrical current can cause serious injury.
Wait a moment after powering down. Let any residual charge drain from the system. This takes just a few seconds but matters for your safety.
Dry your hands completely. Water and electricity do not mix. Keep your hands dry throughout the entire repair process.
Check the work area lighting. Make sure you can see clearly under the sink. Use a flashlight or headlamp to inspect all connections and components. Poor lighting leads to mistakes and missed problems.
Gather your tools before starting. Have a screwdriver, flashlight, and cloth nearby. Keep a bucket under the sink in case water drips out when you disconnect lines.
Tell others you are working on the faucet. Let family members know not to use the sink while you repair it. This prevents accidental activation and keeps everyone safe.
Taking these precautions takes only five minutes. It eliminates risks and sets you up for a successful repair. Never rush this foundational step.
Step-by-Step Guide to Inspecting Sensor Wiring
Now that you’ve powered down safely, it’s time to inspect the wiring. This is where most false trigger problems hide. Get your flashlight and look under the sink at the connections between your sensor and control box.
Check each wire connection carefully. Loose wires are extremely common. Gently wiggle each connector to see if it moves. If a connection feels loose, use your screwdriver to tighten it. Don’t force it, just snug it firmly.
Look for rust or corrosion on the metal connectors. Corrosion appears as greenish or white crusty buildup. This buildup blocks electrical signals and causes false triggers. If you see corrosion, gently clean the affected area with a dry cloth. You can also use a small brush to remove stubborn deposits.
Trace the entire wire path from sensor to box. Make sure no wires are pinched, bent at sharp angles, or damaged. Bent wires can break internally and create connection problems. If you find a damaged wire, you may need to replace it.
Check where wires enter the control box. These entry points often loosen over time from vibration and water movement. Tighten any screws holding the wires in place.
Look at the sensor connector itself. This is where the sensor cable plugs into the main system. Push it in firmly to ensure a solid connection. Sometimes these connectors slip out slightly from normal use.
After tightening everything, dry the area completely with your cloth. Moisture around electrical connections causes false triggers too. Make sure no water droplets remain on any connectors.
Once you’ve secured all connections and cleaned away corrosion, reconnect the power. Turn the water supply back on. Test your faucet to see if the false triggering has stopped. If problems continue, the sensor itself may need cleaning or replacement.
Cleaning the Sensor and Removing Interference Sources
Your sensor needs a clean surface to work properly. Dirt, soap residue, and water spots build up over time and confuse the detection system. Start by turning off the water and power supplies completely. Safety comes first when working with electrical components.
Use a soft, dry cloth to wipe the sensor area gently. Most sensors sit near the faucet spout or on the side of the fixture. Wipe away any visible grime, mineral deposits, or soap buildup. You may need to dampen the cloth slightly with distilled water if buildup is stubborn. Avoid harsh chemicals or abrasive scrubbers that could damage the sensor surface.
Pay special attention to the sensor lens or detection window. This is where the sensor “sees” motion or touch. Even light dust layers block signals and cause false triggers. A clean sensor means accurate readings every time.
Next, look around your sink for metal objects that create electrical noise. Remove steel wool, metal scrubbers, or aluminum foil from the area. Metal debris near the sensor generates interference that confuses the detection circuit. Check inside cabinets and drawers under the sink too. Stray utensils or tools can cause problems if they’re close to the wiring.
Examine the countertop around your faucet as well. Metal soap dispensers, utensil holders, or decorative items near the sensor create interference. Move these items away from the faucet if possible.
After cleaning the sensor and removing metal objects, reconnect the power. Test the faucet by moving your hand near the sensor. The response should be immediate and consistent. If false triggering continues, the issue may involve wiring connections or the control box itself.
Keep the sensor area clean going forward. Wipe it down weekly as part of your regular sink cleaning routine. Prevention stops most false trigger problems before they start.
How to Properly Reset Your Smart Faucet System
A proper reset clears temporary errors and recalibrates your smart faucet’s sensor system. This process works like rebooting a computer.
Start by turning off both water and power. Locate the shut off valve under your sink and turn it clockwise. Then find the electrical outlet powering your faucet, usually mounted inside your cabinet or under the sink. Switch off the outlet or unplug the power cord directly.
Wait for at least five to ten minutes after powering down. This waiting period allows the system to fully discharge and clear any stuck settings. During this time, the faucet’s internal memory resets itself.
After waiting, reconnect the power first. Plug the cord back in or flip the outlet switch on. Listen for any beeping sounds, which indicate the system is booting up. Some faucets show a light that blinks during startup.
Next, turn the water supply back on. Open the shut off valve slowly by turning it counterclockwise. Let water flow through the faucet for a few seconds to ensure normal operation.
Test the sensor by waving your hand near it. The faucet should respond smoothly without excessive triggering. If false triggering stops, your reset was successful.
If problems continue after reset, other issues may exist. Corroded wiring or contaminated sensors often require additional steps beyond a simple restart. Check for metal debris near your sink, as this interferes with sensor detection.
Document what happens after your reset. Note whether the faucet works normally or if false triggering returns. This information helps identify whether the problem is temporary or requires deeper inspection of your wiring connections and sensor cleanliness.
Common Mistakes to Avoid During Troubleshooting
When troubleshooting your smart faucet’s false triggering, certain mistakes can make the problem worse or even damage your system. Here are the critical errors to avoid.
Never touch live wires or components while power is still on. Always turn off electricity at the outlet or breaker before inspecting anything under your sink. This protects you from electrical shock and prevents accidental damage to sensitive sensor circuits.
Don’t skip the power down step entirely. Some people try to fix wiring while the system is running. This creates safety hazards and can cause the sensor to malfunction further during your work.
Avoid neglecting metal debris in your sink area. Steel wool, aluminum foil, or even coins left near the faucet create electromagnetic interference. This interference tricks your sensor into thinking someone is using the faucet when they’re not. Check your countertop and sink basin thoroughly before assuming the sensor itself is faulty.
Don’t rush through the reset process. Waiting only one or two minutes isn’t enough. Your faucet’s control box needs at least five to ten minutes without power to clear temporary errors and recalibrate properly.
Resist the urge to apply excessive force when tightening connections. Over tightening can strip screws or crack plastic connectors, creating new problems. Turn screws firmly but gently until they stop moving.
Don’t ignore manufacturer documentation for your specific model. Different faucet brands have unique sensor designs and reset procedures. Skipping this step means you might miss model specific issues that cause false triggering.
Avoid mixing up water supply valves with electrical switches. Turning off the wrong valve leaves water pressure in the lines, which complicates your inspection work.
Finally, don’t assume one failed fix means the entire faucet is broken. False triggering usually stems from fixable issues like loose wiring or sensor contamination. Take your time, follow each step carefully, and test after each change to identify what actually solves your problem.
Advanced Troubleshooting When Basic Fixes Don’t Work
When basic fixes don’t solve your false triggering problem, you need to dig deeper into your faucet’s internal systems. Advanced troubleshooting focuses on the wiring and control box connections that most people overlook.
Start by examining the wiring harness that runs from your sensor to the control box beneath your sink. Look for signs of corrosion, which appears as green or white crusty buildup on the wires and connectors. Corrosion breaks electrical signals and causes false triggers.
Gently wiggle each wire connection while watching the sensor response. A loose connection might cause intermittent triggering. Use a small screwdriver to tighten terminal screws firmly, but don’t overtighten or you’ll strip them.
If corrosion is heavy, you may need to disconnect the corroded connector and clean both ends with a dry cloth. Some people use a pencil eraser to gently remove oxidation from metal contact points. Reconnect everything snugly afterward.
Check your control box for moisture or debris inside. Water damage causes false triggers because moisture conducts electricity unpredictably. If you see condensation or water droplets, dry everything carefully and improve ventilation under your sink.
Test your sensor sensitivity settings if your faucet has adjustable options. Some models let you increase the detection distance or reduce sensitivity through a control panel or app. Reducing sensitivity can prevent false activation from nearby movement.
If false triggering persists after checking wiring and cleaning, your sensor itself may be failing internally. This usually requires professional service or sensor replacement through the manufacturer.
Document what you find during inspection. Take photos of corroded areas or loose connections. This information helps if you contact customer support or need to arrange repairs. Keep your faucet’s model number handy for reference.
Final Thoughts
Fixing a smart faucet touch sensor does not need to feel complicated. Most false triggers come from simple causes. Loose wires, dirty sensors, or nearby metal objects are usually the culprits.
Patience makes a real difference here. Rushing through steps often leads to missed problems. Take your time with each check.
Start with the easiest fixes first. Cleaning the sensor and checking for loose connections solve many issues quickly. Only move to deeper wiring checks if these simple steps fail.
Safety should always come first. Turn off power before touching any wires. This protects you and your faucet from damage.
Keep your sink area clear of metal items. Steel wool, utensils, and other metallic objects can confuse the sensor. A clean, clear space around your faucet prevents many future problems.
If your faucet still misbehaves after basic troubleshooting, check your model number. Different brands and models may have unique quirks. Manufacturer support pages often have specific guidance for your exact faucet.
Regular maintenance prevents most sensor issues before they start. Wipe down your sensor area weekly. Check wiring connections every few months, especially in humid kitchens.
Sometimes sensors wear out over time. If cleaning and resetting do not help, the sensor itself might need replacing. This is normal for older units after years of use.
Do not feel discouraged if the first fix does not work. Smart faucet problems often need a few attempts to resolve. Each step you take rules out possible causes.
With careful inspection and basic tools, most homeowners can fix this problem themselves. You do not need special training or expensive equipment.
Trust the process. Follow each step in order. Your smart faucet should work reliably again once you address the root cause of the false triggering.
Frequently Asked Questions
Why does my smart faucet keep turning on by itself?
False triggering happens when your sensor picks up signals it shouldn’t. Loose wiring connections under your sink are a common culprit. Corrosion on metal connectors can also cause random activation. Metal debris near your sensor creates electrical interference that confuses the system.
Sometimes moisture inside the control box triggers false activation too. Water conducts electricity and can cause the sensor to fire unexpectedly.
How do I reset my smart faucet sensor?
Start by turning off power at the outlet or breaker. Next, shut off your water supply valve. Wait at least five to ten minutes while everything powers down completely.
After waiting, reconnect the power and turn the water back on. This full reset often clears temporary glitches that cause false triggers. If your faucet has a manual reset button, press it during this process for extra effectiveness.
What should I check first when the sensor malfunctions?
Look at the wiring connections under your sink first. Use a screwdriver to tighten any loose connectors you find. Inspect the wires for rust, corrosion, or damage along their entire length.
Next, clean your sensor area thoroughly with a soft, dry cloth. Remove any steel wool, metal shavings, or metallic debris from your sink. These materials cause interference that triggers false activation.
Can I fix this myself without calling a professional?
Yes, most homeowners can handle basic fixes. You’ll need only a screwdriver and a soft cloth. Always turn off power and water before starting any inspection.
Avoid touching live wires or components while electricity is on. Take your time examining each connection. If corrosion is heavy, disconnect the corroded connector and clean both ends carefully.

Hi, I’m Jessamine Rowell, the founder and voice behind ResizeMake (https://resizemake.com/), a space where I share my love for technology with the world. I write detailed and honest reviews on the latest tech products, gadgets, electronic devices, and trending Amazon items to help readers make smarter buying decisions.