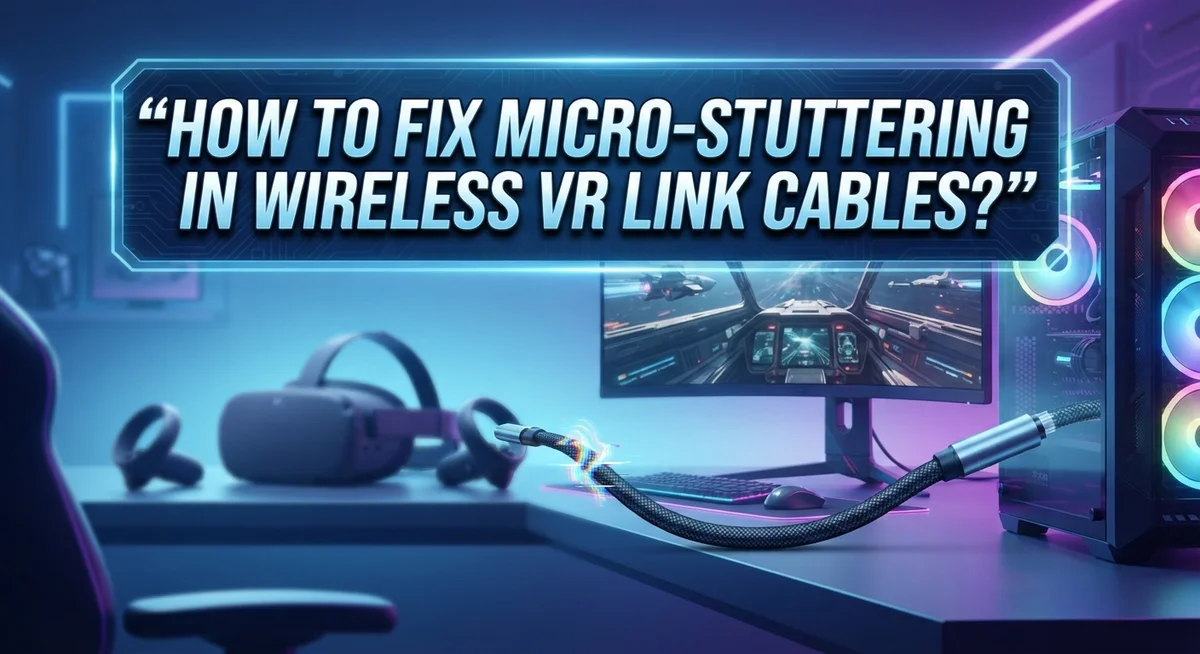
How To Fix Micro-Stuttering In Wireless VR Link Cables?
Nothing ruins a great VR session faster than micro-stuttering. You put on your headset, load your favorite game, and suddenly everything jitters. It feels choppy, even when your PC should handle it easily.
This annoying issue often comes from a few hidden culprits. SteamVR motion smoothing can trick your eyes into seeing fake stutters. Your network settings might also fight against a smooth VR stream.
Even your WiFi band plays a bigger role than you think. Some bands simply cannot keep up with the constant data your headset needs.
In a Nutshell
- Disable motion smoothing in SteamVR. This step alone fixes most stutter problems. You will need to edit a config file manually.
- Turn off QoS settings on your router. Also disable port forwarding. These features often interfere with smooth data streaming.
- Switch to 5GHz WiFi band. It offers more stability than 6GHz for wireless PCVR. This small change makes a big difference.
- Set Dynamic Bitrate Offset to 30 in ODT. Dynamic bitrate smooths out stutters better than fixed rates. Combine this with a 200 Mbps dynamic mode setting.
- Test your hardware first. Try shorter Ethernet patch cords or a Meta Link cable. Sometimes the fix is simpler than software tweaks.
- Avoid common mistakes. Do not leave motion smoothing on. Do not keep QoS or port forwarding active. These small oversights cause big headaches.
What Causes Micro-Stuttering In VR Link Connections
Micro-stuttering in wireless VR link connections happens for several reasons. Understanding these causes helps you fix the problem faster.
Motion smoothing is a major culprit. SteamVR enables this feature by default to reduce frame drops. However, it sometimes creates tiny pauses in motion instead of preventing them. Your headset tries to predict where you are moving, and this prediction occasionally misses. The result feels like brief freezes during head movement.
Network interference also triggers stuttering. Your WiFi router sends data at different speeds depending on signal strength. When your connection drops even slightly, the VR stream pauses to catch up. This pause creates that annoying stutter effect you notice during gameplay.
WiFi band selection matters more than many people realize. The 6GHz band offers more channels but less stability at distance. The 5GHz band provides better performance for most wireless VR setups. If you are using 6GHz, your connection may struggle to stay consistent.
Bitrate settings directly impact smoothness. Fixed bitrate means your connection sends the same amount of data constantly. If your WiFi cannot handle that amount, stutters happen. Dynamic bitrate adjusts the data flow based on your connection quality.
Router settings can interfere with VR streaming. QoS (Quality of Service) settings sometimes prioritize other devices over your VR headset. Port forwarding creates additional processing overhead that slows things down.
Hardware connections play a role too. Loose cables, old USB ports, or damaged connectors cause signal loss. Even a slightly worn connection can trigger micro-stutters.
These factors often work together. One problem alone might not cause noticeable stuttering, but multiple issues combined create that frustrating effect.
Disabling SteamVR Motion Smoothing Step By Step
Motion smoothing in SteamVR actively causes micro stuttering during wireless VR sessions. This feature tries to fill missing frames, but it often creates the opposite effect. You need to disable it through a config file edit.
First, locate your SteamVR configuration folder on your computer. Open your file explorer and navigate to the Steam directory. Find the SteamVR settings folder inside your Steam installation path.
Look for the file named steamvr.vrsettings. This text file controls core SteamVR behavior. Right click on it and select “Open with Notepad” or your preferred text editor.
Search for the line containing “motionSmoothing”. You will see it set to true by default. Change this value from true to false. This single change stops SteamVR from applying motion smoothing.
Save the file immediately after making this change. Do not add any extra characters or spaces around your edit. Close the text editor completely.
Restart SteamVR entirely. Launch it fresh from your Steam library. The new settings take effect when the application loads again.
Test your wireless VR connection right away. You should notice immediate improvement in smoothness. Micro stutters often disappear completely after this fix.
If stuttering persists, move forward with other adjustments like bitrate settings and WiFi band changes. However, disabling motion smoothing resolves the problem for most users.
Keep this config file backed up on your computer. You can quickly reapply these settings if SteamVR updates reset your preferences. This simple edit takes less than five minutes but delivers significant results.
Optimizing Network Settings: QoS And Port Forwarding
Your router’s settings have a huge impact on VR streaming quality. Two specific configurations often cause micro stuttering: Quality of Service (QoS) and port forwarding. Let’s fix both.
QoS settings prioritize certain types of traffic on your network. While this sounds helpful, it can actually interfere with wireless VR streaming. Your router might throttle VR data packets without you realizing it. Access your router’s admin panel through your browser. Look for the QoS or Traffic Management section. Disable all QoS rules completely. Save your changes and restart the router.
Port forwarding creates specific pathways for data on your network. This feature helps some applications but hurts VR performance. Open your router settings again. Find the Port Forwarding section. Remove any port forwarding rules you’ve created previously. This opens up full bandwidth for your VR connection.
After making these changes, test your connection immediately. Boot up your VR application and move around your play space. Notice if the stuttering improves or disappears entirely. Most users see results within minutes of disabling QoS.
Your network now has fewer artificial restrictions. Data flows more freely between your PC and headset. This creates the smooth, uninterrupted connection VR demands.
Keep your router firmware updated regularly. Check the manufacturer’s website monthly for new versions. Updated firmware often includes performance improvements for wireless devices. Document any changes you make to your router settings. This helps you troubleshoot faster if problems arise later.
These router adjustments work best when combined with bitrate optimization and WiFi band selection. Together, they eliminate most micro stuttering issues in wireless VR setups.
Choosing The Right WiFi Band For Stable Streaming
WiFi bands are the radio frequencies your router uses to send data. Your VR headset connects through one of these bands, and the band you choose directly affects streaming stability.
The 5GHz band offers better performance for wireless VR streaming. This band has more available channels and less interference from household devices. Microwaves, baby monitors, and Bluetooth speakers typically operate on 2.4GHz, so they won’t disrupt your 5GHz connection. You’ll notice fewer stutters when using 5GHz because the signal path stays cleaner.
The 6GHz band sounds newer and better, but it’s actually less stable for VR right now. Most VR systems still optimize for 5GHz connections. Switching to 6GHz often introduces unexpected stuttering instead of fixing it. Stick with 5GHz unless your specific VR setup explicitly recommends 6GHz.
To select the right band, access your router’s settings through a web browser. Look for WiFi settings or wireless configuration options. Most routers let you choose which band to broadcast. You can usually pick 5GHz only, which forces your headset to connect there.
Distance matters too. Position your router close to where you play VR. Walls and metal objects weaken 5GHz signals more than 2.4GHz, so keep your play space within 15 to 20 feet of the router.
After switching to 5GHz, test your connection immediately. Move around your play space and watch for stuttering. If micro stutters continue, the issue likely stems from bitrate settings or motion smoothing rather than band selection. Document which band works best for your specific setup so you can maintain consistent performance.
Configuring Dynamic Bitrate Offset In Oculus Debug Tool
The Oculus Debug Tool (ODT) lets you fine tune how your wireless VR connection handles video quality. Dynamic Bitrate Offset is a setting that automatically adjusts your stream quality based on real time network conditions. This prevents the stuttering you see when your connection drops suddenly.
Open the Oculus Debug Tool on your PC. Look for the section labeled “Bitrate” or “Streaming Settings.” You’ll see an option for Dynamic Bitrate Offset. This setting works by allowing your system to lower video quality slightly when your network gets congested. It then raises quality again when conditions improve.
Set your Dynamic Bitrate Offset value to 30. This number represents how much flexibility your system has to adjust quality automatically. A value of 30 gives you solid performance without dropping quality too aggressively. Lower values make adjustments too slow. Higher values might reduce quality too much.
Next, set your bitrate to 200 Mbps in dynamic mode. Dynamic mode means the bitrate changes automatically instead of staying fixed at one speed. This approach works better than fixed bitrate because it adapts to your network conditions in real time.
After making these changes, restart your VR application completely. Don’t just close and reopen it. Shut down the entire system and start fresh. This ensures the Oculus Debug Tool settings apply properly.
Test your wireless connection immediately. Launch a demanding VR game or application. Watch for any stuttering during movement or scene transitions. If you still see micro stuttering, the problem likely stems from your network settings or WiFi band choice rather than bitrate configuration.
Testing Hardware: Cables, Ports, And Connections
Before you adjust software settings, check your hardware first. Physical problems often cause micro stuttering that software fixes can’t solve.
Start with your cables. Examine every inch of your link cable for visible damage, kinks, or bent connectors. Micro stuttering sometimes happens when a cable carries data inconsistently. Replace any cable showing wear or damage. Test with a shorter cable if possible, since longer cables can degrade signal quality over distance.
Next, inspect your ports. Look at the USB ports on both your PC and headset. Dirt, dust, or bent pins inside ports cause connection problems. Use a flashlight to see inside clearly. Clean ports gently with compressed air or a soft brush. Never insert metal objects into ports. A loose connection in your port creates the exact stuttering pattern you’re experiencing.
Check your connection points carefully. Wiggle the cable gently where it connects to your PC and headset while watching for any signal drops. A loose connection will show immediate stuttering when you move the cable. Reseat the cable firmly into each port. Push it in until you hear or feel a click.
Test your ports with different cables if you have them available. This tells you whether the problem lives in your port or your cable. Swap cables between USB ports on your PC to identify which port might be failing.
Document what you find. Note which cables work smoothly and which ones stutter. Write down which ports perform better. This information helps you understand whether your issue is hardware related before moving to software troubleshooting steps.
Common Mistakes That Cause Persistent Stuttering
Many people make simple mistakes that keep micro stuttering problems alive in their wireless VR setup. Understanding these errors helps you fix the issue faster.
Leaving motion smoothing enabled is the biggest culprit. SteamVR turns on motion smoothing by default, and this feature actually creates micro stutters instead of preventing them. You need to manually edit your configuration files to disable it. Most users don’t know this setting exists, so they waste hours troubleshooting other areas.
Another common mistake involves incorrect bitrate settings. People often lock their bitrate to a fixed number. Fixed bitrate doesn’t adapt when your network conditions change. This causes constant stuttering during streaming. Dynamic bitrate works much better because it adjusts automatically to your connection quality.
Router configuration errors cause problems too. Many users keep their network settings too restrictive. They leave QoS settings active or maintain port forwarding rules that weren’t necessary. These settings actually slow down your VR data transmission. Removing these restrictions immediately improves performance.
WiFi band selection trips up many people as well. Newer doesn’t always mean better. The 6GHz band sounds advanced, but it performs worse for VR than the older 5GHz band. Users switch to 6GHz thinking it will help, then experience worse stuttering. Switching back to 5GHz solves the problem instantly.
Testing mistakes also happen frequently. People change one setting and don’t test immediately. They make multiple changes at once, so they can’t identify which fix actually worked. This wastes your time and creates confusion.
Finally, users skip hardware checks completely. They jump straight to software fixes when a damaged cable or loose connection causes the stuttering. Always inspect your physical setup first before adjusting any software settings.
Troubleshooting Stubborn Stutter Issues After Fixes
When stuttering persists after your initial fixes, you need a systematic approach to find what’s still wrong. Start by checking if motion smoothing actually disabled. Open your SteamVR configuration files and verify the setting changed to false. Sometimes the file reverts during updates, so confirm it stayed disabled.
Next, test your network again with a fresh perspective. Run a speed test to confirm you’re getting consistent bandwidth. Your connection might show 200 Mbps available, but actual throughput could be lower. Wireless interference from nearby devices (microwaves, cordless phones, baby monitors) can reduce real performance even when your router shows strong signal.
Restart everything in the correct order. Power off your PC completely, then your headset, then your router. Wait 30 seconds before powering back on. This reset clears temporary network issues that cause stubborn stutters.
Check your Oculus Debug Tool settings again. Verify Dynamic Bitrate Offset is truly set to 30 and bitrate is at 200 Mbps dynamic. Screenshot these settings so you know exactly what you changed.
Test with a wired connection temporarily. Connect your PC directly to your router with an Ethernet cable. If stuttering stops with wired connection, your wireless setup needs more adjustment. If stuttering continues, the problem lies elsewhere in your system.
Document everything you test. Note the exact time, which settings you checked, and what happened. This record helps identify patterns. If stuttering happens only during specific games or applications, that points to software conflicts rather than connection issues.
Consider moving your router closer to your play space. Distance and obstacles create interference that causes micro stutters even with correct settings.
Final Thoughts
Micro stuttering feels frustrating, but you now have clear steps to fix it. Motion smoothing, network settings, and WiFi bands all play a big role in your experience.
Start with software fixes first. Disable motion smoothing in SteamVR since it causes most stutter issues. Turn off QoS and port forwarding on your router too.
Your bitrate settings matter just as much. Dynamic mode with proper offset values gives you smoother visuals than fixed rates ever will.
WiFi band choice makes a real difference. 5GHz stays more stable than 6GHz for most PCVR setups right now.
Hardware checks should never get skipped. Damaged cables and loose connections cause stutters that no software fix can solve.
Testing takes patience, but it pays off. Try one change at a time so you know exactly what worked.
Some setups need multiple fixes working together. Your network, hardware, and software settings all connect to create smooth VR performance.
Keep your router firmware updated regularly. This small step prevents many connection problems before they start.
Distance from your router affects signal quality too. Stay within a reasonable range for the best wireless experience.
Remember that every setup differs slightly. What fixes stuttering for one person might need adjustment for your specific hardware.
Patience really helps during this process. Testing takes time, but finding the right combination of settings gives you lasting results.
Your VR experience should feel smooth and immersive. Apply these fixes step by step, and stuttering becomes a thing of the past.
Save your working configuration once you find it. This way, you avoid repeating the same troubleshooting steps later.
Enjoy your stutter free wireless VR sessions now.
Frequently Asked Questions
Why does my wireless VR link cable stutter even with a good connection?
Motion smoothing in SteamVR is usually the culprit. This feature tries to fill gaps between frames, but it often creates micro stutters instead. You need to disable it by editing the SteamVR config file manually. Check your network settings too. QoS (Quality of Service) and port forwarding can interfere with smooth streaming.
Should I use 5GHz or 6GHz WiFi for my VR setup?
Use 5GHz WiFi instead of 6GHz. The 5GHz band offers better stability for wireless PCVR streaming. 6GHz is newer but less reliable for VR applications right now. Your router likely supports both bands, so switch to 5GHz in your WiFi settings.
What bitrate settings work best for reducing stutters?
Set your bitrate to 200 Mbps in dynamic mode, not fixed mode. Dynamic bitrate adjusts automatically based on your network conditions. Enable Dynamic Bitrate Offset and set it to 30 in your Oculus Debug Tool. This approach smooths out stutters much better than keeping a fixed bitrate.
Why does my VR still stutter after I made software changes?
Hardware connections might be loose or damaged. Test with different cables if you have them available. Your router distance matters too. Move it closer to your play space if possible. Restart your PC, headset, and router completely in that order, then test again.
Can a wired connection help me identify the problem?
Yes. Test with a wired Ethernet connection temporarily to see if stuttering disappears. If it does, your WiFi setup needs adjustment. If stutters continue, the issue is software related, not your network.

Hi, I’m Jessamine Rowell, the founder and voice behind ResizeMake (https://resizemake.com/), a space where I share my love for technology with the world. I write detailed and honest reviews on the latest tech products, gadgets, electronic devices, and trending Amazon items to help readers make smarter buying decisions.