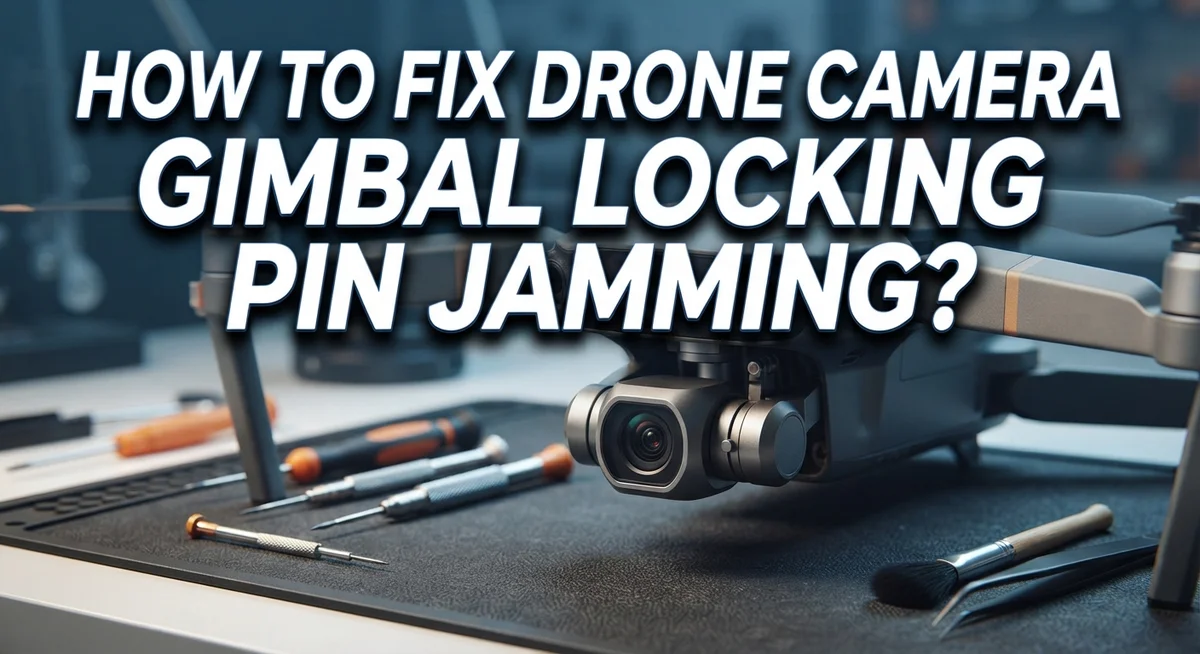
How To Fix Drone Camera Gimbal Locking Pin Jamming?
Your drone camera gimbal will not budge, and panic sets in fast. You planned the perfect flight, but a jammed locking pin just stopped you cold.
This problem happens more often than you think. Many drone pilots face this exact issue with popular models.
The good news? You can often fix this yourself without a repair shop visit.
Gimbal locking pins jam for a few common reasons. Debris gets stuck in the joints. The camera plate sits at the wrong height. Sometimes the protector cover stays on by mistake.
In this article, you will learn exactly how to diagnose the problem. We will walk through each step to check your locating pins. You will discover how to clear out hidden debris safely.
We also cover when calibration solves the issue. And we explain when you might need to replace certain parts.
By the end, you will know how to get your gimbal moving again. No more stuck cameras before your next flight. Let’s get your drone back in the air where it belongs.
In a Nutshell
Here’s a quick recap to help you fix a jammed gimbal locking pin fast.
-
Remove the gimbal protector first. Never power on your drone with the protector still attached. This is the top cause of jamming issues.
-
Unfold the arms before startup. Folded arms block the gimbal from moving freely. Always unfold them fully before you turn on the drone.
-
Check the locating pins closely. Look for bent, worn, or damaged pins on the gimbal socket. Both pins should protrude evenly and correctly.
-
Clean out debris with compressed air. Dust and dirt often collect in the joints. A quick blast of air can clear the path instantly.
-
Calibrate after your mechanical check. If the pins and joints look fine, calibration usually resolves the stuck gimbal. Skipping this step is a common mistake.
-
Replace worn rubber suspensions if needed. When cleaning and calibration do not help, worn suspensions are likely the culprit. Replacing them often solves persistent jamming for good.
Follow these steps in order, and most gimbal issues clear up quickly.
Understanding Gimbal Locking Pins and Why They Jam
Gimbal locking pins serve a critical purpose on your drone. These small metal components hold your camera steady during flight and storage. When you power down your drone, the locking pins engage to prevent unwanted movement.
The locking mechanism works like a safety lock. Two locating pins sit on the gimbal socket. They slide into corresponding slots on your camera plate. This creates a secure connection that protects your camera from damage during transport.
Jamming occurs when something blocks this smooth engagement. Debris is the most common culprit. Dust, sand, or small particles collect inside the gimbal joints over time. These particles prevent the pins from sliding all the way in or out.
Another frequent cause involves the camera plate itself. If your camera sits too high on the gimbal, the locking cover cannot close completely. This misalignment stops the pins from fully engaging. The pins then get stuck in a halfway position.
Bent or damaged locating pins also create problems. Physical impact or rough handling can warp these metal components. Once bent, they cannot align properly with the camera plate slots.
Rubber suspensions inside the gimbal can wear down too. These small cushions absorb vibration during flight. When they deteriorate, the entire gimbal assembly shifts slightly. This shift throws off the pin alignment.
Moisture and corrosion present additional risks. If your drone sits in humid conditions, rust can form on the metal pins. Rust creates friction that makes movement difficult.
Understanding these causes helps you diagnose your specific problem. Each cause requires a slightly different fix. Knowing what went wrong means you can apply the right solution quickly and effectively.
Pre-Startup Checks Before Powering On Your Drone
Before you power on your drone, take five minutes to perform these simple checks. This prevents gimbal jamming and saves you frustration later.
Start by removing the gimbal protector completely. Many users forget this step and power on with the protective cover still attached. The protector blocks the locking pins from engaging properly, which causes immediate jamming errors.
Next, unfold all aircraft arms fully. Folded arms restrict gimbal movement and prevent the locking mechanism from working correctly. Make sure each arm clicks into its locked position before proceeding.
Inspect both locating pins on the gimbal socket carefully. Look for bent, cracked, or worn pins that stick out unevenly. Run your finger gently over each pin to feel for damage. Damaged pins cannot hold the camera plate securely.
Check the camera plate height and positioning. The plate must sit low enough for the locking cover to close completely. If it sits too high, the pins cannot engage fully.
Use compressed air to blow out debris from all gimbal joints and around the locating pins. Dust and dirt accumulate in tight spaces and block smooth pin movement. Hold the can upright and use short bursts of air.
Examine rubber suspensions inside the gimbal for visible wear, cracks, or deterioration. These cushions absorb vibration and support the camera. Worn suspensions allow excessive movement that jams the locking pins.
Finally, verify that the gimbal moves freely by hand. Gently rotate it in all directions without applying force. Resistance or grinding sounds indicate internal problems that need attention before startup.
Completing these checks takes just a few minutes and catches most problems before they cause flight delays.
Step-by-Step Guide to Fixing a Jammed Locking Pin
When your gimbal locking pin jams, the problem usually stems from one of three sources: debris blocking the mechanism, misaligned components, or worn internal parts. Understanding which issue you face helps you fix it faster.
Start by examining the camera plate. This metal piece must sit at the correct height to allow the locking pin to engage smoothly. If the plate sits too high, the pin cannot reach its locked position. Gently press the camera downward to check if it moves freely or feels stuck.
Next, inspect both locating pins on the gimbal socket itself. These small metal posts should protrude evenly and show no signs of bending or wear. Run your finger across them carefully to feel for rough spots or damage. Even slight deformation prevents proper locking.
Dust and dirt accumulate inside gimbal joints over time. Use compressed air to blow out these hidden spaces thoroughly. Direct short bursts into the gaps around the locating pins and along the camera plate edges. This simple step resolves many jamming issues without requiring disassembly.
Check the rubber suspensions inside the gimbal next. These cushioning pieces absorb vibration during flight. When they crack, deteriorate, or lose elasticity, they can shift out of position and interfere with the locking mechanism. Look for visible damage, discoloration, or separation from their mounting points.
Finally, move the gimbal by hand through its full range of motion. It should rotate smoothly without grinding sounds or resistance. Rough movement indicates internal friction that cleaning alone won’t fix.
These diagnostic steps take just ten minutes but reveal exactly what’s causing your jamming problem.
Inspecting and Cleaning Locating Pins and Joints
Start your inspection by looking closely at both locating pins on the gimbal socket. These pins must protrude evenly and show no signs of bending or damage. Run your fingers gently across each pin to feel for rough spots or corrosion that could prevent smooth locking.
Next, examine the joints where the gimbal connects to your camera. Debris loves to hide in these tight spaces. Use compressed air in short bursts to clear out dust, sand, and any loose particles. Hold the can upright and keep the nozzle several inches away from sensitive components.
Pay special attention to the area around the locking mechanism itself. Blow air from multiple angles to ensure you reach debris that sits deep inside joints. Work slowly and methodically around the entire gimbal assembly.
Check the rubber suspensions that sit inside the gimbal housing. These small cushions should feel firm and show no cracks or tears. If they appear mushy or deteriorated, they need replacement. Damaged suspensions can’t hold the camera steady, which puts extra stress on the locking pins.
After cleaning, rotate the gimbal by hand through its complete range of motion. It should move smoothly without grinding sounds or resistance. Listen carefully for any clicking or scraping noises that suggest remaining debris.
Inspect the camera plate where it meets the gimbal. The plate must sit at the correct height so the locking cover engages fully. If the plate sits too high, the lock won’t catch properly even if pins are clean.
Once your visual inspection and cleaning finish, test the locking mechanism gently. The pins should slide into place without excessive force. If jamming persists after thorough cleaning, move forward with gimbal calibration.
Calibrating the Gimbal After Mechanical Repairs
After you’ve cleaned and inspected your gimbal, calibration becomes the next critical step. This process realigns the gimbal’s sensors and motors to their correct positions. Power on your drone and open the control app on your device.
Navigate to the settings menu and find the gimbal calibration option. Most drones display this under “Gimbal” or “Camera” settings. Before starting calibration, place your drone on a flat, level surface. Do not touch the gimbal during this process. The calibration routine typically takes two to three minutes to complete.
During calibration, the gimbal will move through its full range of motion automatically. You’ll hear motors adjusting and see the camera repositioning itself. This is normal behavior. Let the process finish without interruption.
If calibration fails, power down your drone completely. Wait thirty seconds, then power on again and retry calibration. Sometimes a fresh start resolves temporary sensor errors.
After successful calibration, test the gimbal manually by gently moving it by hand. It should return smoothly to center position. Check that the locking pin engages properly when you power down the drone.
If the gimbal still behaves erratically after calibration, the issue likely involves damaged internal components. Return to your mechanical inspection. Look specifically at the rubber suspensions and motor connections. Damaged suspensions prevent proper gimbal movement and sensor accuracy.
Test the gimbal one more time by powering on and off several times. Watch for consistent locking pin engagement each time. Successful calibration combined with proper mechanical condition means your gimbal repair is complete.
When to Replace Rubber Suspensions and Other Components
Your rubber suspensions absorb vibration and keep the camera stable during flight. Over time, they wear out and lose their ability to cushion movement. When suspensions fail, the gimbal becomes loose and the locking pin cannot engage properly.
Signs of worn rubber suspensions include excessive wobbling, delayed camera response, and visible cracks or discoloration on the rubber itself. You may also notice the camera sits lower than normal in the gimbal housing. These symptoms tell you replacement time has arrived.
Inspect the rubber suspensions by looking directly into the gimbal housing. Press gently on each suspension with your finger. If they feel hard, brittle, or show visible damage, they need replacement. Fresh suspensions should feel slightly springy and flexible.
Other components often fail alongside rubber suspensions. The camera plate itself may crack or warp, preventing proper locking. Locating pins can bend or break from repeated jamming attempts. The gimbal frame may develop stress fractures if suspensions fail completely.
Replace rubber suspensions when cleaning and calibration no longer solve your jamming problem. This typically happens after 12 to 18 months of regular flying, depending on flight frequency and environmental conditions. Dusty or sandy environments accelerate wear significantly.
When replacing suspensions, also inspect the camera plate, locating pins, and gimbal frame for damage. Replace any components showing cracks, bending, or permanent deformation. A complete suspension replacement often fixes multiple issues at once and restores your gimbal to factory performance.
Prevention matters too. Store your drone indoors in a dry location. Use the gimbal protector when not flying. These simple habits extend suspension life considerably and reduce jamming problems.
Common Mistakes That Cause Recurring Pin Jamming
Pin jamming happens because of specific mistakes you make before and during drone operation. Understanding these errors helps you avoid the problem entirely.
Powering on with the gimbal protector attached is the most common mistake. The protector holds the locking pin in a fixed position. When you power up your drone, the gimbal tries to move but the protector blocks it. This forces the pin into an awkward angle and causes jamming. Always remove the protector before turning on your aircraft.
Skipping the arm unfolding step creates another frequent issue. Your drone arms need to unfold completely before startup. If arms remain folded, they can interfere with gimbal movement during initialization. The gimbal then tries to calibrate in a cramped space, pushing the locking pin against the frame.
Ignoring debris in the gimbal joints leads to recurring jamming. Dust and small particles accumulate around the locking pins over time. These particles act like wedges, preventing smooth pin movement. Many people clean the exterior but forget about internal joints where particles hide.
Overlooking damaged locating pins causes persistent problems. If a pin has bent, cracked, or lost its shape, cleaning won’t help. The pin simply won’t seat properly in its socket. Inspect both pins carefully before assuming the issue is dirt related.
Skipping gimbal calibration after cleaning leaves the problem unresolved. Your gimbal software needs to relearn the correct positions after you’ve disturbed internal components. Without calibration, the system can’t properly control pin engagement.
These mistakes compound each other. One error often triggers another, making jamming worse over time.
Troubleshooting Persistent Gimbal Lock Errors
Gimbal lock errors happen when your locking mechanism fails to engage correctly. This issue frustrates many drone pilots because the camera won’t stabilize properly during flight. Understanding how to diagnose and fix persistent errors saves you time and money.
Start by checking if you’re making setup mistakes. Power on your drone only after removing the gimbal protector and unfolding all aircraft arms. These two steps prevent most jamming problems before they start. Many pilots skip these basics and wonder why errors persist.
Next, inspect your locating pins carefully. These small pins must protrude correctly from the gimbal socket. If they appear bent, cracked, or flush against the socket, they’re preventing the locking mechanism from working. Damaged pins need replacement because cleaning won’t restore their function.
Use compressed air to clear debris from all gimbal joints and crevices. Dust and particles accumulate inside the housing and block the locking pin from seating properly. Blow air from multiple angles to ensure you reach hidden spaces.
After cleaning, run gimbal calibration through your drone’s settings menu. The gimbal moves through its complete range during this process. If calibration fails, power down completely and try again.
Test the gimbal manually by gently moving it with your hand. It should move smoothly without resistance or grinding sounds. Erratic movement after calibration suggests internal component damage.
If problems continue after these steps, your rubber suspensions or camera plate likely need replacement. These components wear out and prevent proper locking. Inspect them visually for cracks, warping, or visible deterioration. Replace worn parts to restore normal gimbal function and eliminate persistent lock errors.
Final Thoughts
Fixing a jammed gimbal locking pin does not need to feel overwhelming. Most cases come down to simple setup mistakes or debris buildup.
Start with the basics every time. Remove the gimbal protector and unfold your drone arms before powering on. This single habit prevents most jamming issues.
If your gimbal still sticks, inspect the locating pins closely. Look for bending, cracks, or dirt blocking their path. Clean joints with compressed air to clear hidden debris.
Calibration matters too. After cleaning, always run the gimbal calibration through your drone settings. Skipping this step often leaves the problem only half solved.
Test the gimbal by hand before your next flight. Gentle movement should feel smooth, with no grinding or resistance. Any stiffness signals a deeper mechanical issue.
When cleaning and calibration do not fix the jamming, look at your rubber suspensions and camera plate. Worn suspensions and cracked plates cause many persistent lock errors.
Replacing these parts often solves problems that cleaning alone cannot fix. Your gimbal will move freely again once damaged components are swapped out.
Think of gimbal maintenance as routine care, not emergency repair. Regular checks before and after flights catch small issues early.
A few extra seconds spent checking pins, joints, and arms can save your drone from bigger damage later. Consistent habits protect both your camera and your footage quality.
Gimbal locking pin jamming feels frustrating, but it rarely means your drone is broken. Most fixes take only minutes once you know where to look.
Stay patient, follow each step in order, and your gimbal should lock properly again. A well maintained gimbal keeps every flight smooth and every shot steady.
Frequently Asked Questions
Why does my gimbal locking pin jam even after I clean it?
Jamming often returns because debris hides in multiple joints. Compressed air clears surface dust, but grime settles deep inside the gimbal assembly. You might miss spots around the camera plate or suspension system.
The real issue is usually incomplete cleaning. Blow air from different angles into all crevices. Pay special attention to where the camera connects to the gimbal. If jamming comes back within a few flights, your rubber suspensions may be worn out and need replacement.
What’s the difference between a stuck gimbal and gimbal lock?
A stuck gimbal won’t move smoothly when you push it by hand. Gimbal lock means the locking mechanism fails to engage, leaving your camera loose during flight.
Stuck gimbals usually respond to cleaning and calibration. Gimbal lock errors often point to damaged locating pins or a camera plate sitting too high. Check if both pins protrude correctly from the gimbal socket before assuming you have a lock error.
Can I fix gimbal jamming without taking my drone apart?
Yes, most jamming fixes require no disassembly. Start by removing the gimbal protector and unfolding your arms. Power on and let the gimbal auto calibrate.
Next, use compressed air to clear all joints. Gently move the gimbal by hand to feel for grinding or resistance. If it moves freely after cleaning and calibration, you’re done.
Only open the gimbal if these steps fail and you suspect internal damage or worn rubber suspensions.
When should I replace rubber suspensions instead of just cleaning?
Replace suspensions when cleaning and calibration don’t stop jamming. Worn rubber loses its grip on the camera plate, allowing it to shift during operation.
Signs of worn suspensions include constant jamming after cleaning, visible cracks in the rubber, or a camera plate that sits lower than normal. Replacement typically solves jamming problems that persist after you’ve ruled out debris and pin damage.

Hi, I’m Jessamine Rowell, the founder and voice behind ResizeMake (https://resizemake.com/), a space where I share my love for technology with the world. I write detailed and honest reviews on the latest tech products, gadgets, electronic devices, and trending Amazon items to help readers make smarter buying decisions.