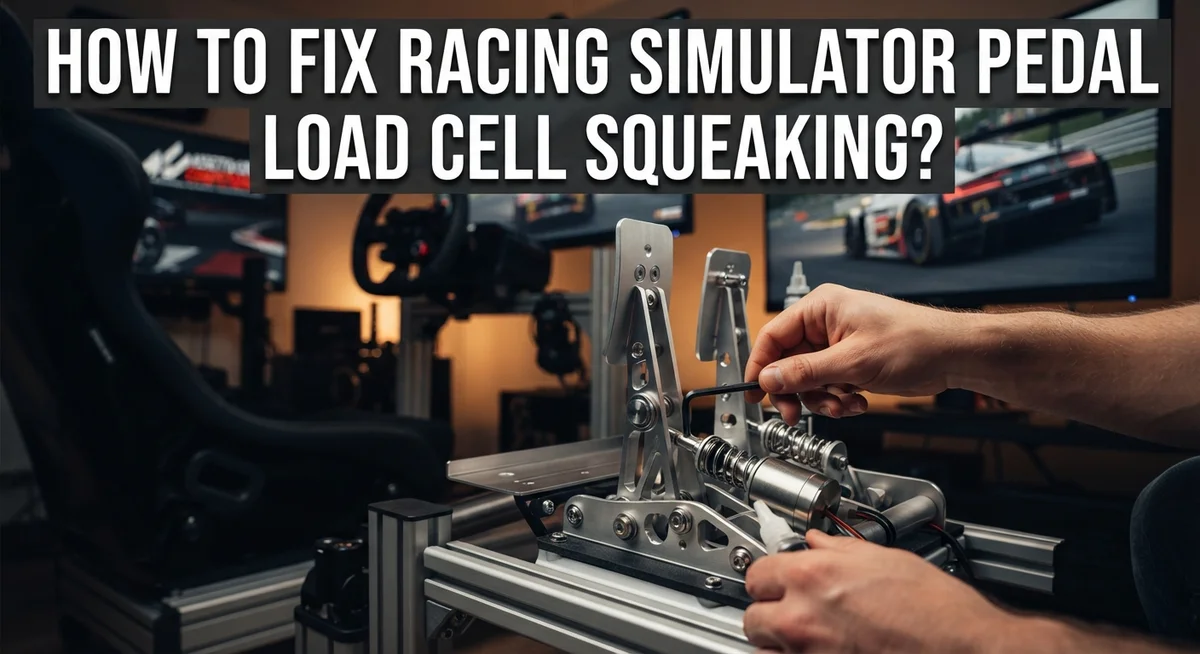
How To Fix Racing Simulator Pedal Load Cell Squeaking?
Do you hear a weird squeak every time you hit the brake pedal in your racing simulator? You are not alone.
This annoying noise is a common problem in load cell brake systems. Brands like Fanatec often face this issue.
The good news? This squeaking is not a sign of a broken pedal. It usually comes from friction at pivot points or the polymer springs inside the load cell.
Many racers try quick fixes like rotating the internal spring. This might help for a few days. But the squeak almost always comes back.
In a Nutshell
- Squeaking comes from friction. It happens at the pivot points and the polymer spring inside your load cell brake.
- Lubrication is the real fix. Applying oil or a dry lubricant to the pivot points solves the noise for good.
- Dry lubricants work best. Options like PTFE spray keep things clean and avoid messy buildup over time.
- Wet oils help too. They work well, but they can attract dust and dirt inside your pedal assembly.
- Rotating the spring is temporary. This trick offers quick relief, but the squeak usually returns within a few days.
- Check your software first. Look at your load cell settings before you open up the pedal for repairs.
- A clean pedal stays quiet. Regular care and the right lubricant keep your braking smooth for every race session.
Understanding Why Load Cell Pedals Squeak
Load cell pedals squeak because of friction happening inside the brake assembly. The noise comes from two main sources: the pivot points where parts connect and the polymer spring that sits inside the load cell mechanism.
Pivot points create friction when metal parts rub against each other during pedal movement. These connection spots experience constant motion every time you press the brake. Without proper lubrication, they generate that annoying squeaking sound.
The polymer spring is the second culprit. This spring compresses and releases with each pedal press. Over time, the spring material rubs against the shaft it sits on, creating friction that produces squeaking noise.
This squeaking does not mean your pedal is broken or failing. It simply signals that internal parts need lubrication to move smoothly. Many racers experience this issue, especially with load cell brake systems that see heavy use.
Understanding the source matters because it guides your fix. You cannot solve this problem by just tightening screws or adjusting settings in your software. The issue lives inside the mechanical assembly itself.
The good news is that squeaking responds well to lubrication. Once you apply the right lubricant to the pivot points and spring areas, the friction stops and so does the noise.
Some people rotate the internal spring to get temporary relief from squeaking. This works for a few days because it changes which part of the spring contacts the shaft. However, the squeak returns quickly once the spring settles back into its original position.
A proper lubrication solution provides lasting results. This is why understanding the root cause helps you choose the best fix for your specific situation.
Checking Software Settings Before You Start
Before you grab any lubricant or take apart your pedal, check your software settings first. Many racers skip this step and jump straight to physical fixes. Your simulator software controls how your load cell responds to pressure.
Start by opening your pedal configuration menu. Look for sensitivity settings, deadzone adjustments, and load cell calibration options. Sometimes software glitches create phantom noise or unusual pedal behavior that sounds like squeaking. Recalibrating your load cell takes just a few minutes and often solves noise issues.
Check if your software has a noise filter or dampening setting. Some racing sim platforms include audio filters that reduce squeaking sounds during gameplay. This won’t fix the actual problem, but it tells you whether the noise is mechanical or electrical interference.
Next, update your pedal firmware if available. Manufacturers release updates that improve load cell performance and reduce friction sounds. An outdated firmware version might cause your pedal to work harder than necessary, creating extra friction at pivot points.
Test your pedal sensitivity settings too. If your settings are too aggressive, the load cell works overtime and squeaks more often. Lower sensitivity sometimes reduces friction and noise significantly.
Take notes on what you find during this software check. This information helps you understand whether the squeaking is truly mechanical or related to your setup. If adjusting software settings reduces the noise, you’ve found your answer. If squeaking persists after software checks, then physical lubrication becomes your next step. This approach saves you time and prevents unnecessary disassembly of your pedal assembly.
Tools and Materials You’ll Need
You need a few basic items to fix your squeaking load cell pedal. Most of these tools are common household items you probably already have.
Lubricants are your main focus. You have two solid options here. Dry PTFE lubricant works great because it reduces mess and prevents dust buildup inside your pedal. Oil is another choice if you prefer a wet lubricant, though it can attract dirt over time. Pick whichever fits your comfort level.
Next, gather some basic tools. A small screwdriver set helps you access the pedal assembly safely. Get both Phillips and flathead types to cover different screw sizes. A small flashlight or headlamp makes it easier to see inside tight spaces.
You’ll want some cleaning supplies too. Grab a soft cloth or microfiber towel to wipe away any existing dust or debris. A small brush with soft bristles helps you clean pivot points without causing damage. Cotton swabs are perfect for reaching small areas and applying lubricant precisely.
Consider a small container for organization. Keep all your screws in one spot so you don’t lose them during disassembly. A magnetic tray works wonderfully for metal fasteners.
Finally, have your pedal manual nearby. This reference guide shows you exactly where the pivot points are located. It also explains your specific model’s assembly structure.
You don’t need expensive or specialized equipment. These simple tools give you everything required to stop that annoying squeak. Most people find these items already sitting in their garage or kitchen drawers.
Step-by-Step Guide To Lubricating Pivot Points
Start by preparing your workspace. Lay out all your tools and lubricants on a clean surface. This keeps everything organized and within reach.
Locate the pivot points on your load cell brake assembly. These are where metal parts connect and rotate. Most pedals have 2 to 4 main pivot points you need to access. Check your pedal manual to identify exact locations on your specific model.
Remove your pedal from the racing rig if possible. This gives you better access and control. Some pedals separate from the main assembly easily. Others require you to work on them while mounted. Know your setup before starting.
Gently apply lubricant to each pivot point. Use small amounts at first. A little goes a long way here. If using oil based lubricant, apply it directly to the joint. If using dry PTFE lubricant, spray from about 6 inches away. Avoid over saturating the area.
Work the pedal through its full range of motion after lubricating. Press down slowly and release several times. This distributes the lubricant evenly across the joint. Listen for any remaining squeaking sounds. You may need to apply lubricant to additional spots if squeaking persists.
Wipe away excess lubricant with a clean cloth. This prevents dirt from sticking to wet surfaces. Let everything dry for 5 to 10 minutes before reinstalling.
Test your pedal in your racing simulator. Press it repeatedly to confirm the squeaking has stopped. The fix should feel smooth and quiet now. If squeaking returns later, repeat this process as maintenance.
Rotating the Polymer Spring for Temporary Relief
Rotating your polymer spring offers quick temporary relief from squeaking, though it won’t solve the problem permanently. This method works because it shifts the friction points to a different area of the spring’s surface.
To rotate the spring, you’ll need to access the internal brake assembly. Remove your pedal from the rig first. Locate the polymer spring inside the load cell housing. The spring sits around a central shaft and connects to your brake mechanism. You can rotate it by hand or use a small tool to gently turn it clockwise or counterclockwise.
The rotation process is straightforward. Turn the spring approximately 90 degrees from its current position. This moves the worn or squeaky contact point to a fresh area. Reassemble your pedal and test it immediately. You should notice the squeaking disappears or reduces significantly.
Here’s the important part: expect the squeaking to return within a few days. Rotation only postpones the issue. The friction that caused the original squeak still exists. You’re simply moving the problem to a new spot on the spring’s surface.
This temporary fix works best when you need your pedal functioning right away. It buys you time before applying proper lubrication. Some racers use rotation as a quick test to confirm that squeaking comes from the spring itself, not another component.
After rotating your spring, plan to lubricate your pivot points soon. Lubrication addresses the root cause. Oil or dry PTFE lubricant applied to the right spots provides lasting relief. Rotation is your emergency solution. Lubrication is your permanent answer.
Choosing Between Dry and Wet Lubricants
When you’re fixing your squeaking load cell pedal, choosing the right lubricant matters. You have two main options: dry lubricants and wet lubricants. Each one works differently, and understanding the differences helps you pick the best solution for your situation.
Dry lubricants use PTFE as their base material. These products come in spray or powder form. They coat your pivot points without leaving a sticky residue. Dry lubricants are cleaner to work with because they don’t attract dust or dirt over time. Your pedal assembly stays neat, and you won’t accidentally get oil on your racing rig or floor.
Wet lubricants include oils and silicone based products. These options soak into the friction points more deeply. They provide excellent lubrication for polymer springs and metal pivot areas. However, wet lubricants can be messier. They may drip or spread beyond your target area, potentially getting on your pedal’s electronics or your hands.
The key difference comes down to maintenance and mess. Dry lubricants require fewer touch ups because they don’t evaporate quickly. Wet lubricants need reapplication more often but offer stronger initial relief from squeaking.
For most racing simulator setups, dry PTFE lubricants work best because they keep your pedal clean and require less frequent reapplication. If you prefer deeper penetration into worn areas, wet lubricants deliver faster results. Your choice depends on whether you value cleanliness or maximum lubrication depth.
Test whichever option you choose on a small pivot point first. This approach lets you see how the lubricant performs before applying it everywhere. Both options eliminate squeaking effectively when applied correctly.
Common Mistakes That Bring Squeaking Back
Many people make simple mistakes that cause squeaking to return after they’ve fixed it once. Understanding these errors helps you keep your pedal quiet for good.
The biggest mistake is relying only on spring rotation. This method feels like it works because the noise stops immediately. However, squeaking comes back within days because you haven’t addressed the real problem. Rotating your spring just moves the friction point temporarily. The pivot points still lack proper lubrication, so friction builds up again quickly.
Another common error is using the wrong type of lubricant. Wet oils and heavy greases work temporarily but attract dust and dirt over time. Your pedal environment gets messy, and particles settle into the friction zones. This actually makes squeaking worse after a week or two. Dry lubricants solve this problem because they don’t collect debris.
Some people skip the software adjustment step before troubleshooting. Your racing simulator software lets you adjust load cell settings. Incorrect settings can cause unnecessary stress on pivot points, which increases squeaking. Always check your pedal’s software first.
Applying too much lubricant creates another issue. Excess product leaks into areas where it shouldn’t be, potentially affecting your pedal’s sensitivity or response time. A little lubricant goes a long way at each pivot point.
The solution is straightforward: use dry PTFE lubricant on your pivot points, apply it sparingly, and expect lasting results. Skip the temporary fixes and go straight to permanent lubrication. Your pedal will stay quiet through countless racing sessions when you avoid these common mistakes.
Maintenance Tips To Keep Pedals Silent Long-Term
Keeping your load cell pedals silent over the long term requires a simple maintenance routine. The key is addressing squeaking before it becomes a persistent problem.
Start by checking your pedals every few weeks during regular use. Listen for any new squeaking sounds during your racing sessions. Catching the noise early makes fixing it much easier than waiting until it gets worse.
Apply lubricant to pivot points on a schedule. Don’t wait for squeaking to appear. A light application every few months prevents friction from building up. Use dry PTFE lubricant for this maintenance step since it stays clean and doesn’t attract dust.
Work your pedals through their full range of motion after each application. This spreads the lubricant evenly across all friction points. Wipe away any excess with a clean cloth to prevent buildup.
Store your pedals in a dry environment. Moisture causes rust and increases friction at pivot points. Keep your racing setup away from humid areas or direct sunlight.
Check your load cell settings through your software regularly. Proper calibration reduces unnecessary strain on internal components. This prevents premature wear and squeaking.
Replace worn polymer springs before they start squeaking. Springs that have lost their shape create more friction. Preventive replacement costs less than dealing with repeated squeaking issues.
Keep a maintenance log of when you last lubricated your pedals. This simple habit helps you stay consistent. You’ll know exactly when the next maintenance is due.
Finally, avoid using your pedals with extreme force during casual driving. Gentle inputs reduce wear on internal components. This extends the time between maintenance sessions significantly.
Final Thoughts
Squeaking load cell pedals feel annoying, but the fix is simple. Friction at pivot points and polymer springs causes the noise. Once you understand this, the solution becomes clear.
Lubrication solves the problem permanently. Spring rotation only offers temporary relief. Squeaking returns within days if you rely on rotation alone.
Dry PTFE lubricant works best for most setups. It keeps your pedals clean. It also reduces the mess that wet lubricants can create.
Wet options like oil or silicone lube still work well. Some racers prefer them for deeper penetration into pivot points. Choose based on your comfort with maintenance.
Software adjustments matter too. Check your load cell settings before you start troubleshooting. This step often gets skipped, but it can prevent unnecessary frustration.
Regular maintenance keeps squeaking away for good. Inspect your pedals every few weeks. Apply lubricant on a schedule instead of waiting for noise to appear.
Store your pedals in a dry place. Moisture increases friction and speeds up wear on pivot points. A dry environment protects your investment.
Worn polymer springs need replacement eventually. Watch for early signs of wear. Replacing springs before they fail prevents squeaking from starting in the first place.
Squeaking is not something you have to accept. It signals friction that you can fix. With the right lubricant and a simple routine, your pedals can stay silent for a long time.
Take action now. Grab your lubricant, check your pivot points, and adjust your software settings. A few minutes of maintenance now saves you from noisy, distracting pedals during your next racing session.
Frequently Asked Questions
Does squeaking mean my load cell pedals are broken?
No. Squeaking indicates friction at pivot points or polymer springs, not a mechanical failure. Your pedals work fine. The noise simply means internal components need lubrication. This is a normal maintenance issue, not a sign of damage.
Can I fix squeaking without taking my pedals apart?
Yes. You can apply lubricant directly to visible pivot points without disassembly. Access the areas where the pedal arm connects to the base. Rotate your pedal through its full range while applying lubricant. This reaches the friction zones without requiring tools or opening the assembly.
Why does squeaking come back after I rotate the springs?
Spring rotation provides only temporary relief. The squeaking returns because rotation doesn’t address the root cause, which is friction. Lubrication solves the problem permanently by reducing that friction. Expect squeaking to return within days if you rely on rotation alone.
What type of lubricant works best for load cell pedals?
Dry PTFE lubricant is the top choice. It reduces friction without attracting dust or creating mess. Oil and silicone lube also work well. The key difference is that dry options stay clean. Wet lubricants can accumulate dirt over time. Choose whichever fits your preference, but apply it sparingly to avoid excess buildup.
How often should I lubricate my pedals?
Check your pedals every few weeks during regular use. Apply lubricant to pivot points on a schedule rather than waiting for squeaking to appear. This prevents the noise from developing. Store your pedals in a dry environment between sessions. Moisture increases friction and speeds up wear.

Hi, I’m Jessamine Rowell, the founder and voice behind ResizeMake (https://resizemake.com/), a space where I share my love for technology with the world. I write detailed and honest reviews on the latest tech products, gadgets, electronic devices, and trending Amazon items to help readers make smarter buying decisions.