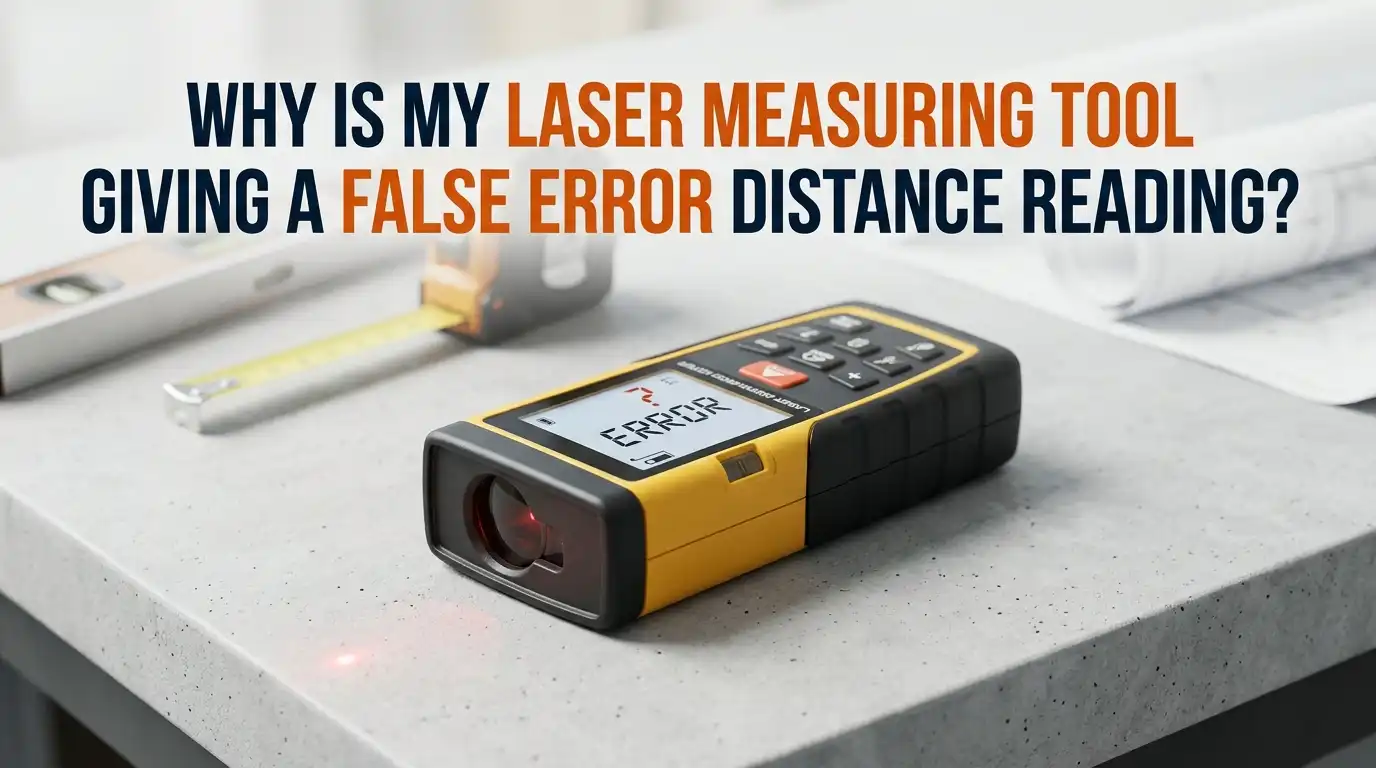
Why Is My Laser Measuring Tool Giving a False Error Distance Reading?
Your laser measuring tool just flashed an error code, and now you are stuck holding a device that refuses to give you a straight answer. Maybe it shows a wildly wrong number, or perhaps it blinks “Error 255” while you stand there confused.
This is one of the most common frustrations among contractors, surveyors, and DIY users. The good news is that false distance readings almost always come from fixable causes.
This guide walks you through every reason your laser meter might lie to you, and shows you the exact steps to restore accuracy fast.
Key Takeaways
- Weak batteries are the top cause of inaccurate or error readings on most laser distance meters. Always replace them first before deeper troubleshooting begins.
- Surface reflectivity matters a lot. Dark, glossy, transparent, or rough surfaces scatter the laser beam and cause false numbers or signal failure codes.
- Environmental factors like fog, dust, direct sunlight, and extreme temperatures can confuse the sensor. Most units work best between 14°F and 104°F with stable air.
- A dirty or scratched lens is a silent killer of accuracy. Clean the laser aperture with a microfiber cloth before every important job.
- Calibration drift happens over time, especially after drops or heavy use. Run a known-distance test monthly to catch errors early.
- Reference point settings (front edge vs. back edge) are often set incorrectly by mistake, which makes readings appear “false” when the device is actually fine.
Understanding How Your Laser Measuring Tool Works
Your laser tool sends a thin beam of light to a target and times how long the reflection takes to return. The internal chip converts that travel time into a distance. This sounds simple, but the system depends on a clean signal path and a strong return pulse.
Anything that blocks, scatters, or weakens the beam can produce a false reading. The device may guess, round off, or throw an error code instead of failing silently.
Knowing this helps you understand why small things like a dusty lens or a shiny window cause big problems. Once you accept that laser meters are sensitive optical tools, troubleshooting becomes much easier.
Check the Batteries First
Low battery power is the number one reason laser meters misbehave. When voltage drops, the laser diode weakens, the timing circuit slows, and the screen shows wrong numbers or error codes like Error 254 on Leica units.
Pop the back cover open and install fresh alkaline or lithium AA batteries. Avoid mixing old and new cells, since this creates uneven voltage. If your unit uses a rechargeable pack, charge it fully before testing again.
Pros of replacing batteries first: It is free if you have spares, takes thirty seconds, and solves most issues. Cons: Disposable batteries add up in cost over time, and rechargeable packs eventually lose capacity. Still, this is always the right first step before blaming the device.
Clean the Laser Lens and Sensor Window
Dust, fingerprints, paint splatter, and concrete powder coat the front lens during normal use. Even a thin film scatters the outgoing beam and weakens the incoming reflection. This produces shorter, longer, or fluctuating distance values.
Use a soft microfiber cloth and a drop of lens cleaner or isopropyl alcohol. Wipe gently in circles, never with paper towels or your shirt. Check both the laser aperture and the receiver window, since most tools have two small openings side by side.
Pros of cleaning: Quick, cheap, and restores accuracy instantly in many cases. Cons: Repeated cleaning can scratch the lens if you use rough materials. Always store the device in its pouch to reduce how often cleaning is needed.
Test the Target Surface Reflectivity
Your laser needs a surface that bounces light back evenly. Dark walls, glass, polished metal, water, and clear plastic all cause false readings or signal errors. The beam may pass through, bounce sideways, or get absorbed completely.
To fix this, place a target plate or a piece of white cardboard on the surface you want to measure. Most professional kits include a red or white target card for exactly this reason. White matte paper works fine for short distances.
Pros of using a target plate: Boosts signal strength, allows longer measurements, and works on tricky materials. Cons: You need a helper to hold it for long distances, and it adds a small thickness you must subtract from the reading.
Watch Out for Beam Obstructions
A false reading often happens when the laser hits something between you and your intended target. A door frame, a wire, a hanging cable, or even a passing person can intercept the beam. The tool reports the distance to that closer object instead.
Look carefully along the entire beam path before pressing measure. Use the device’s built-in viewfinder or zoom feature if available, especially outdoors where the red dot is hard to see.
Pros of checking the beam path: Prevents the most common user error and costs nothing. Cons: Outdoor visibility of the beam is poor in bright sunlight, so you may need a laser enhancement glasses or a digital viewfinder model. Slow down and double check before each shot for best results.
Account for Temperature and Humidity
Laser meters are precision instruments and react to extreme conditions. Cold weather slows the electronics and may trigger an “Error 253” temperature low code, while heat above 104°F can cause “Error 252” overheating. Humidity and fog scatter the beam through water droplets in the air.
Let your device sit in the working environment for ten to fifteen minutes before use. This lets internal components reach a stable temperature. Avoid direct sunlight on the screen, since this can also wash out the display and overheat the housing.
Pros of acclimating the tool: Dramatically improves accuracy in harsh conditions. Cons: Adds wait time to your job, and some readings remain unreliable in heavy fog or rain regardless of how long you wait.
Verify the Reference Point Setting
Every laser meter measures from a chosen reference edge, usually the front edge, back edge, or tripod thread. If this setting changed by accident, every reading will be off by the length of the device itself, often two to four inches.
Check the small icon on the screen showing where the measurement starts. Press the reference button to cycle through options until the correct one is selected. The back edge is best when you hold the tool against a wall, while the front edge works for free standing measurements.
Pros of using reference modes: Lets you measure from any starting point with no math needed. Cons: Easy to switch by mistake, especially with gloves on. Always glance at the icon before trusting a reading.
Inspect for Physical Damage
A drop on concrete can knock the internal laser diode or prism out of alignment. After this happens, the tool may still power on and show numbers, but those numbers will be consistently wrong. The error may also appear only at certain distances.
Look at the housing for cracks, loose battery doors, or a wobbly lens. Shake the unit gently and listen for rattling parts. If you hear loose components inside, the device likely needs professional service or replacement.
Pros of inspecting damage: Quickly identifies hopeless cases so you stop wasting time. Cons: Internal damage is not always visible from outside, and most laser meters are not user repairable. Manufacturer service can cost as much as a new unit.
Recalibrate the Device
Even an undamaged laser meter drifts out of calibration over months of use. Many models include a self calibration mode you can run at home. Tape a target to a wall, measure a known distance with a quality steel tape, then compare it to the laser reading.
If the laser is off by more than the rated tolerance (usually plus or minus 1.5mm to 3mm), enter calibration mode using your manual’s button combination. Some Huepar and Bosch models require holding the measure button and minus key together while powering on.
Pros of self calibration: Restores accuracy without sending the device out. Cons: Not all models support it, and improper calibration can make things worse. Always read your specific manual before attempting this step.
Match the Tool to the Distance
Every laser meter has a maximum effective range, often 50, 100, or 200 feet. Beyond that, the return signal becomes too weak and the tool throws “Error 255” or similar. Some units also have a minimum distance, usually around ten inches.
Check your manual for the exact range. If you regularly measure long outdoor distances, consider upgrading to a higher range model with a digital viewfinder. For tight indoor spaces, a compact short range unit works better.
Pros of matching tool to job: Eliminates range related errors permanently. Cons: You may need more than one tool to cover all situations, which costs more. Most users find a single 200 foot unit handles 95 percent of jobs.
Use a Tripod for Long Measurements
Hand shake is a silent source of false readings, especially past 30 feet. Tiny movements during the half second measurement window cause the beam to land on different spots, producing inconsistent results. The tool may also catch reflections from nearby surfaces.
Mount the device on a small photo tripod or a dedicated laser tripod with a threaded socket. Most professional units include a quarter inch tripod thread on the base. Even a simple tabletop tripod improves accuracy noticeably.
Pros of using a tripod: Removes human error, allows precise targeting, and enables hands free operation. Cons: Adds bulk to your kit, takes time to set up, and not all entry level models have a tripod thread.
Reset the Tool to Factory Settings
Sometimes the internal memory or software glitches after firmware updates, low battery shutdowns, or random button presses. A factory reset clears all stored measurements, custom settings, and minor software bugs.
Look in your manual for the reset procedure. Most units require holding the on/off button along with the clear button for several seconds. The screen will flash or beep when the reset completes.
Pros of a factory reset: Solves mysterious errors that no other step fixes. Cons: You lose all saved measurements and custom reference settings, so write them down first. This should be your last software step before calling support or returning the unit.
When to Call the Manufacturer
If you have tried fresh batteries, cleaning, calibration, and a reset with no success, the problem is likely internal. Most major brands like Bosch, Leica, Stanley, Milwaukee, and DeWalt offer one to three year warranties that cover sensor and electronics failure.
Gather your purchase receipt, the model number, and a list of the steps you already tried. Contact customer service through the brand’s official website. Many companies offer mail in repair or replacement for free during the warranty period.
Pros of manufacturer service: Often free under warranty and uses genuine parts. Cons: Can take two to four weeks, leaving you without your tool. For very cheap units, replacement may be faster and cheaper than repair.
Frequently Asked Questions
Why does my laser measure show different readings each time?
Inconsistent readings usually come from hand shake, a moving target, or a partially reflective surface. Mount the tool on a tripod, use a white target card, and make sure nothing in the room is moving. If readings still vary by more than 3mm, your tool likely needs calibration or has a failing sensor.
Can sunlight cause my laser meter to give wrong distances?
Yes, bright direct sunlight overwhelms the receiver and washes out the red beam. For outdoor work, use a target plate, work in shaded areas when possible, or buy a model with a digital viewfinder. Some professional units include a green laser, which is more visible in daylight than red.
What does Error 255 mean on my laser distance meter?
Error 255 means the received signal is too weak for the device to calculate a distance. This happens when the target is too far, too dark, too angled, or transparent. Move closer, use a target plate, or aim at a brighter, flatter surface to fix it.
How often should I calibrate my laser measuring tool?
For casual home use, check accuracy every six months against a steel tape. For professional daily use, check it monthly and after any drop or impact. If you take measurements for legal, structural, or billing purposes, calibrate before every important job.
Why does my laser meter work indoors but fail outdoors?
Outdoor conditions add sunlight glare, longer distances, wind movement, and lower target reflectivity. The combination overwhelms entry level units quickly. Use a target plate, a tripod, and a model rated for outdoor work, ideally with a digital camera viewfinder for long range shots.
Is it worth repairing an old laser distance meter?
It depends on the original price. For tools that cost less than $100, replacement is usually cheaper than repair. For professional units over $300, manufacturer repair makes sense, especially if still under warranty. Always get a repair quote before shipping the device.

Hi, I’m Jessamine Rowell, the founder and voice behind ResizeMake (https://resizemake.com/), a space where I share my love for technology with the world. I write detailed and honest reviews on the latest tech products, gadgets, electronic devices, and trending Amazon items to help readers make smarter buying decisions.