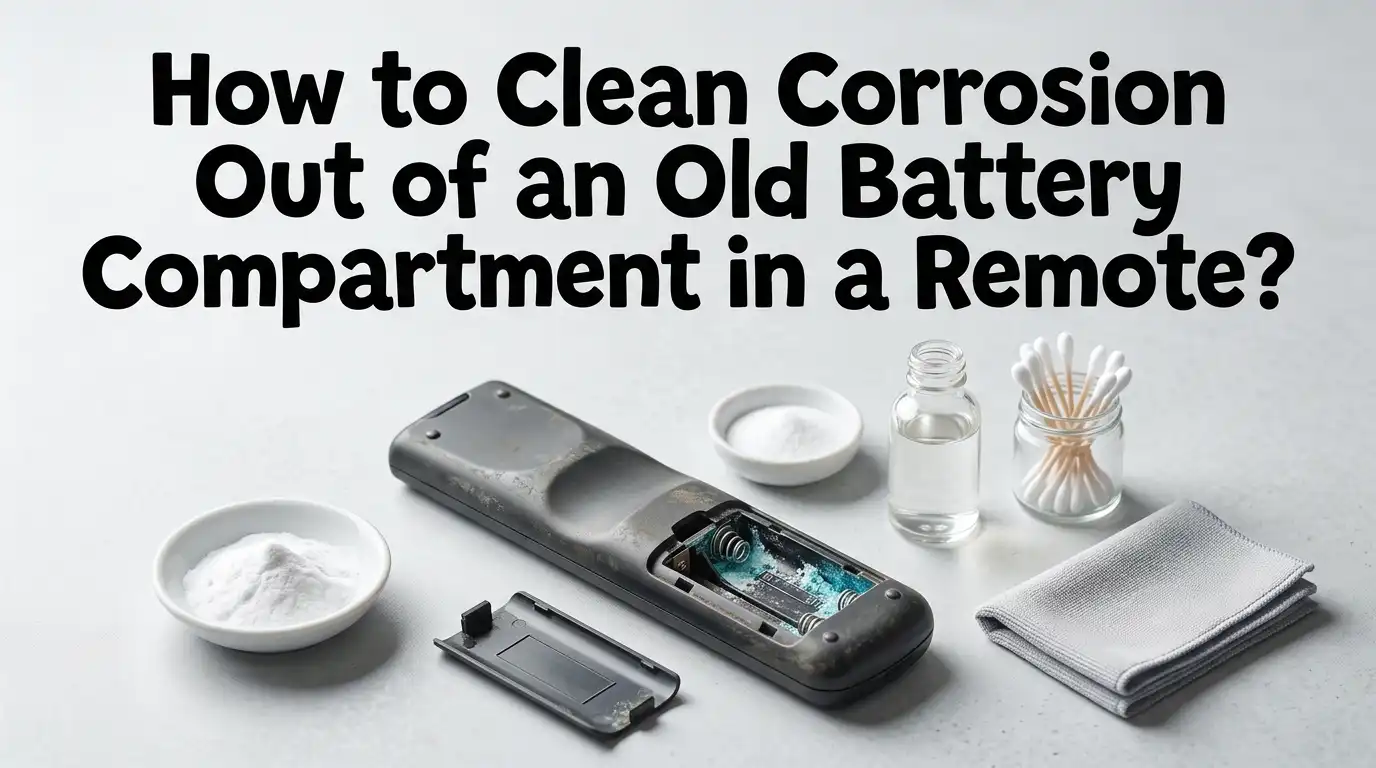
How to Clean Corrosion Out of an Old Battery Compartment in a Remote?
You grab the TV remote, press the power button, and nothing happens. You slide open the back cover and find a crusty white or greenish mess coating the metal springs. Old batteries leaked inside, and now the remote feels useless.
Do not throw it away yet. That powdery buildup is called battery corrosion, and you can clean it off at home with basic kitchen supplies. This guide walks you through every step.
You will learn safe cleanup methods, the right neutralizers to use, and smart tricks to bring dead contacts back to life. By the end, your remote will likely work again, and you will save money on a replacement.
In a Nutshell
- Safety comes first. Always wear gloves and safety glasses before touching leaked battery residue. The white powder is potassium hydroxide, and it can irritate your skin and eyes.
- Match the neutralizer to the battery type. Use white vinegar or lemon juice on alkaline battery leaks because the leak is a base. Use baking soda paste only on acid based batteries like car batteries, not AA or AAA cells.
- Keep liquids away from the circuit board. Apply cleaners with a cotton swab or toothbrush, never pour them in. Too much moisture can ruin the electronics inside the remote.
- Isopropyl alcohol is your best friend. A 90 percent or higher alcohol rinse removes leftover residue and dries fast without leaving water spots on metal contacts.
- Rebuild damaged contacts. If the springs look eaten away, you can sand them smooth, replace them, or bridge gaps with a tiny piece of aluminum foil as a short term fix.
- Test the remote with fresh batteries only after every part is completely dry, usually a few hours after cleaning.
What Causes Battery Corrosion in a Remote Compartment
Battery corrosion happens when the seal on a battery fails and the chemicals inside leak out. Most household remotes use alkaline AA or AAA batteries, which contain potassium hydroxide. Over time, especially in old or unused remotes, this chemical pushes through the metal casing.
When the leak hits the metal springs and contacts inside the compartment, a chemical reaction begins. The leaked material reacts with air and metal to form a crusty white, blue, or green powder. This powder blocks the electrical flow between the battery and the circuit board.
Heat, humidity, and leaving dead batteries in the device speed up this process. Cheap or expired batteries are also more likely to leak. Understanding the cause helps you prevent it from happening again once your remote is fixed.
Safety Gear You Need Before You Start
Battery leakage is not deadly, but it is still a chemical that can hurt you. Before opening the remote, gather a few protective items. Put on rubber or nitrile gloves to protect your hands from the alkaline residue. Wear safety glasses or even regular glasses to keep flecks of powder out of your eyes.
Work in a well lit area with good airflow. Place an old towel or paper sheet on your table to catch flakes that fall out. Keep food and drinks away from your workspace. Wash your hands well after the job is done, even if you wore gloves.
Pros of using safety gear: prevents skin irritation, avoids accidental eye damage, and keeps your workspace clean.
Cons: takes an extra minute to set up, and gloves can make fine work slightly clumsy.
Tools and Supplies You Will Need
Gathering everything before you start saves time and stops you from running around mid job. You probably already have most of these items at home. You will need white vinegar or fresh lemon juice, cotton swabs, an old toothbrush, paper towels, and a small bowl.
Add isopropyl alcohol at 90 percent or higher strength for the final rinse. Grab a small flat screwdriver to open the remote if needed. Optional items include a fine grit sandpaper or nail file for stubborn corrosion on metal springs, and a pencil eraser to polish contacts.
Pros of this toolkit: cheap, safe, and uses common household items.
Cons: results vary if corrosion is severe, and you may still need replacement springs in extreme cases. Avoid using water based cleaners that leave residue.
Step One: Remove the Old Batteries Carefully
Open the back cover of the remote slowly. Tilt the remote so any loose powder falls onto your paper towel, not into the deeper parts of the device. Use a cotton swab or wooden chopstick to lift each battery out. Do not touch the leaked material with bare fingers.
If a battery is stuck inside, gently rock it side to side. Avoid prying hard because this can bend the springs further. Drop the old batteries into a sealed bag for safe disposal at a battery recycling point.
Pros of slow removal: prevents corrosion from spreading deeper into the remote.
Cons: stuck batteries can take patience to free without damaging contacts. Never use metal tools that could short circuit a battery still holding charge.
Step Two: Brush Off the Loose Powder
Before applying any liquid, get rid of the dry crust. Hold the remote upside down over your trash can and tap the back gently. Most flakes will fall out on their own. Use an old soft toothbrush to sweep the rest of the loose powder out of the compartment.
You can also use a small dry paintbrush or a cotton swab to reach into tight corners around the springs. Take your time and do not press too hard. Pressing can rub the powder deeper into seams of the plastic.
Pros of dry brushing first: removes most of the mess before liquids enter the picture, which lowers the risk of moisture damage.
Cons: dust may float into the air, so do this near an open window or outdoors if possible. Wear your mask if you are sensitive to dust.
Step Three: Neutralize the Corrosion with Vinegar or Lemon Juice
Now comes the chemistry part. Alkaline battery leaks are basic in nature, so you need a mild acid to neutralize them. White vinegar works best, but fresh lemon juice does the job too. Dip a cotton swab into the vinegar and squeeze out the extra liquid.
Dab the damp swab onto each corroded spot. You will often see small bubbles or fizzing, which means the reaction is working. Let it sit for one to two minutes. Use a fresh swab as the old one gets dirty.
Pros of vinegar: cheap, food safe, and very effective on alkaline residue.
Cons: strong smell, and too much liquid can seep into the circuit board. Never soak the entire remote in vinegar. Always control the amount with swabs.
Step Four: Scrub Stubborn Spots with a Toothbrush
Some corrosion sticks tightly to the metal springs and contacts. After the vinegar has soaked for a minute or two, grab a clean dry toothbrush and scrub gently. The bristles reach into grooves where cotton swabs cannot.
Move the brush in small circles. You will see the white crust loosen and turn into a grey or brown paste. Wipe it away with a dry paper towel as you go. Reapply a tiny bit of vinegar if the spot is still crusty.
Pros of brushing: removes hard buildup that swabs miss, and improves electrical contact afterward.
Cons: scrubbing too hard can bend thin springs or scratch protective coatings. Always use light pressure and patience. Replace the toothbrush head if bristles become heavily coated.
Step Five: Rinse with Isopropyl Alcohol
Vinegar leaves behind water and acid traces that can cause new corrosion later. To stop this, follow up with isopropyl alcohol of 90 percent or higher. The alcohol breaks down the leftover vinegar and evaporates quickly without leaving residue.
Dip a new cotton swab into the alcohol and wipe every spot you cleaned. Pay close attention to the springs, the flat metal pads, and the screw heads inside the compartment. The alcohol will also help dissolve any sticky grime that vinegar left behind.
Pros of isopropyl alcohol: dries fast, leaves no marks, and is safe for most electronics.
Cons: flammable, so keep it away from open flames. Lower strength rubbing alcohol contains too much water and can leave streaks. Stick with the higher percentage formula for best results.
Step Six: Polish the Metal Contacts
Even after cleaning, the metal springs may look dull, pitted, or dark. A dull surface still blocks current flow. To bring back the shine, gently rub each contact with a pencil eraser or a small piece of fine grit sandpaper like 400 grit.
Move the eraser back and forth a few times until the metal looks bright again. For flat contacts on the back wall of the compartment, fold the sandpaper and slide it across the surface. Wipe away dust with a dry swab.
Pros of polishing: restores a clean conductive surface and improves battery performance.
Cons: harsh sanding can wear through thin plating, exposing metal that rusts later. Use the lightest touch you can. A pencil eraser is the safest option for most remotes.
Step Seven: Dry Everything Completely
Moisture is the enemy of electronics. Even after using fast drying alcohol, give the remote at least one to two hours of air drying before reinserting batteries. Place it open side up in a warm dry spot. Do not use a hairdryer on high heat because it can melt plastic parts.
If you live in a humid area, leave the remote near a fan or in a bowl with uncooked rice overnight. The rice draws out any leftover moisture. Check the compartment with a flashlight to make sure no liquid remains in the corners.
Pros of patient drying: prevents short circuits when batteries are reinserted.
Cons: waiting can feel slow when you want to test the remote right away. Skipping this step is the most common cause of repair failure. Take your time.
How to Repair Broken or Missing Springs
Sometimes corrosion eats through the metal spring completely. The spring may snap off or feel loose when you press it. You have a few repair options. The easiest short term fix is to place a tiny ball of aluminum foil between the battery and the broken contact to bridge the gap.
For a longer lasting repair, you can desolder the broken spring from the circuit board and solder in a new one. Replacement springs are sold in small packs at hardware shops. Match the size to the original.
Pros of foil fix: instant, free, and works for most casual users.
Cons: can fall out, and if the foil touches the wrong spot, it may cause a short. Soldering is permanent but requires basic soldering skills and tools. Choose based on your comfort level.
How to Prevent Battery Corrosion in the Future
Now that your remote works again, take a few small steps to keep it that way. Remove batteries from devices you do not use often. If a remote sits in a drawer for months, leaks become very likely. Check your remotes every few months for early signs of leakage.
Buy quality batteries from trusted brands and never mix old and new batteries in the same device. Mixing creates uneven discharge, which raises leak risk. Store spare batteries in a cool dry place, not in hot garages or sunny windows.
Pros of prevention: saves you from future repairs and protects expensive remotes like smart TV or AC controllers.
Cons: requires a small habit change, like checking devices on a schedule. A two minute inspection every few months is much easier than another full cleanup job.
When to Stop and Replace the Remote
Sometimes corrosion damage goes too far. If the circuit board itself shows green or black stains, or if buttons feel mushy and stop responding after cleaning, the internal damage may be permanent. In these cases, replacement is the smarter choice.
Universal remotes are inexpensive and easy to program. For branded devices, you can often order an exact match from the manufacturer. Compare repair time to replacement cost before committing to deep repairs.
Pros of replacing: you get a fresh device with a warranty and no hidden damage.
Cons: adds to electronic waste and costs more than a cleanup job. Try cleaning first, and replace only if cleaning fails. Most remotes respond well to the steps above, so do not give up too early.
Frequently Asked Questions
Can I use water instead of vinegar to clean battery corrosion?
Water alone does not neutralize alkaline corrosion. It only spreads the residue around. Water also takes much longer to dry and can seep into the circuit board. Always use vinegar or lemon juice for alkaline leaks, then finish with isopropyl alcohol.
Is battery corrosion dangerous to touch?
Alkaline battery residue is mildly caustic. It will not burn your skin instantly, but it can cause itching, redness, or irritation with long contact. If it gets in your eyes or mouth, it can be harmful. Always wear gloves and wash hands after cleaning.
How long does it take to clean a corroded remote?
The actual cleaning takes about fifteen to twenty minutes. Drying time adds another one to two hours. Plan to use the remote again the same day, but not right after cleaning. Patience leads to better results.
What if my remote still does not work after cleaning?
Check if the springs are bent or broken. Make sure batteries are fresh and inserted in the right direction. If contacts look fine but the remote is dead, the internal circuit board may be damaged. At that point, replacement is usually the best step.
Can I use Coca Cola to clean battery corrosion?
Coca Cola contains phosphoric acid, which can neutralize alkaline leaks in a pinch. However, it is sticky and leaves sugar residue that attracts dirt. White vinegar or lemon juice is cleaner and far more effective. Stick with the standard methods for best results.
How often should I check my remotes for leaks?
Check every three to four months, especially in remotes that sit unused. Look for white powder around the battery edges and any discoloration on the springs. Early detection means a quick wipe instead of a major repair job.

Hi, I’m Jessamine Rowell, the founder and voice behind ResizeMake (https://resizemake.com/), a space where I share my love for technology with the world. I write detailed and honest reviews on the latest tech products, gadgets, electronic devices, and trending Amazon items to help readers make smarter buying decisions.