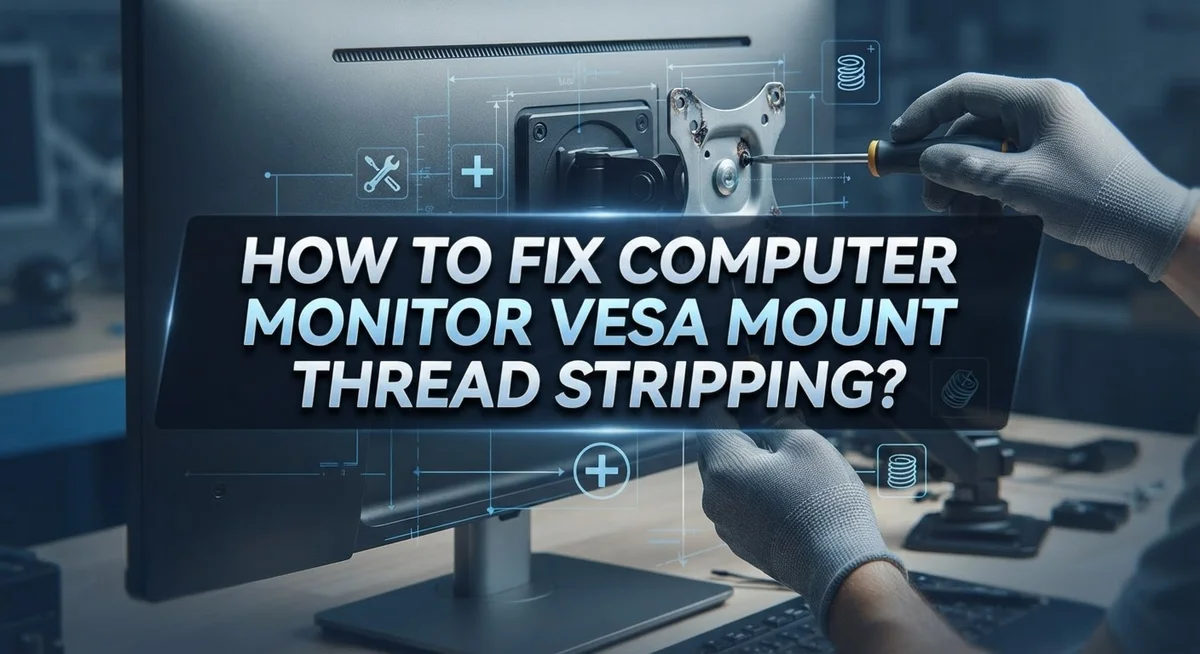
How To Fix Computer Monitor VESA Mount Thread Stripping?
Have you ever tried to remove your monitor from its arm, only to find the screw won’t budge? This is a common problem with VESA mounts. The screw threads strip, and suddenly your monitor feels stuck for good.
Thread stripping happens more often than you think. It can occur even after just one day of installation. Over tightening or using the wrong screw size are usually the culprits.
The good news? You don’t need to panic or call a repair shop right away. Many stripped screws can be fixed with tools you may already have at home.
In a Nutshell
- Cut a new slot into the stripped screw head. Use a Dremel with a diamond blade or a small hacksaw. This gives you a fresh groove to grip.
- Grab a flat head screwdriver once the slot is ready. Turn it slowly to back the screw out without more damage.
- Remove the monitor first. Take off both arms before you start. This gives you clear access and room to work.
- Pick the right screw size next time. Standard VESA holes need specific machine screws. The wrong size causes stripping fast.
- Avoid over tightening during installation. Snug is enough. Cranking down too hard wears out the threads quickly.
- Call a professional if these steps do not work. Some stuck screws need specialized tools that only repair shops have.
Understanding VESA Mounts and Why Threads Strip
VESA mounts are the standard bracket system found on the back of most modern monitors. These mounts have four threaded holes arranged in a specific pattern. The holes accept screws that connect your monitor to an arm, stand, or wall mount.
Why threads strip in VESA mounts comes down to a few common mistakes. Using the wrong screw size is the biggest culprit. If you use a screw that’s too large, it forces its way into the hole and damages the internal threads. Over tightening is another major cause. People often crank down the screw thinking a tighter grip means better stability. This excessive force crushes the threads inside the hole.
The threads themselves are made of soft metal. They’re designed to grip standard machine screws snugly. Once those threads get damaged, they can’t hold any screw securely.
Understanding how stripping happens helps you avoid it in the future. When you insert a screw and turn it too hard, the screw head spins inside the hole instead of advancing deeper. The metal shavings from this friction create a gap between the screw and the threaded hole. Eventually, the screw falls out or gets stuck permanently.
Standard VESA mounts typically use M4 or M5 machine screws. Check your monitor’s manual to confirm the correct size before installation. The spacing between holes follows VESA standards, but screw specifications vary by manufacturer.
Knowing these basics puts you in control. You’ll understand why your monitor won’t stay attached and what causes the problem. This knowledge makes fixing stripped threads much simpler and prevents future damage to your equipment.
Signs Your VESA Mount Screws Are Stripped or Stuck
Knowing the warning signs helps you catch problems early. Resistance when turning the screw is your first clue. If the screw spins without moving in or out, the threads inside are likely damaged.
Listen for clicking or grinding sounds as you try to remove the screw. These noises mean the screw head is slipping against the stripped hole instead of gripping it. This happens because the metal threads no longer hold the screw firmly.
The screw may feel loose even when tight. You push down on the monitor arm, and it wobbles or shifts. This movement signals that the connection is weak and the threads are compromised.
Check if the screw was stuck from the start. Sometimes a screw won’t budge after just one day of installation. This suggests overtightening or a manufacturing defect rather than normal wear. Stuck screws often lead to stripping when you force them.
Examine the screw head itself. Look for signs of damage like a rounded or chewed up top. These marks show the screwdriver bit has been slipping inside the hole repeatedly.
Try the spin test. Hold the monitor arm steady and gently turn the screw. If it spins freely without any resistance, the threads are definitely stripped. A healthy screw creates steady resistance as you turn it.
Multiple stuck screws indicate a bigger problem. If two or more screws won’t move, your VESA mount likely has serious thread damage. This situation requires immediate attention before attempting removal.
Catching these signs early prevents further damage and makes the repair process simpler.
Tools and Materials You’ll Need Before You Start
Before you start fixing your stripped VESA mount thread, gather the right tools. You’ll need items that help you remove the damaged screw and access the problem area safely.
First, get a cutting tool to create a new slot in the stripped screw head. A rotary tool with a diamond blade works well for this task. A hacksaw also cuts through screw heads effectively if you prefer a manual option.
Next, you need a flat head screwdriver that fits snugly into the new slot you create. The screwdriver should be the right size so it grips the slot firmly without slipping. A screwdriver that’s too small will spin inside the slot and waste your effort.
Grab some lubricant to help loosen stuck screws. Penetrating oil breaks down corrosion and makes removal easier. Let the lubricant soak for several minutes before you attempt removal.
You’ll also want a screwdriver set with multiple sizes. Different VESA mounts use different screw sizes, so having options helps you work with what you have.
A vice or clamp keeps your monitor steady while you work on the back. This prevents the monitor from moving around and causing accidents. Stability makes the entire job safer and faster.
Consider having a small container nearby to hold screws as you remove them. Losing screws makes reassembly frustrating and time consuming.
Finally, wear safety glasses when cutting into screw heads. Metal fragments can fly toward your face during this process. Protection keeps you safe while you work.
Gathering these items before you start saves time and prevents frustration during the repair process.
Step-by-Step: Removing a Stripped VESA Screw
Start by removing your monitor from its stand or arm. Place it face down on a soft surface like a towel or blanket to protect the screen. This gives you clear access to the VESA mounting holes on the back.
Locate the stripped screw you need to remove. Examine the screw head carefully to see how much damage exists. If the head is already partially damaged, you’re ready to proceed with the next step.
Use your cutting tool to create a straight slot across the top of the stripped screw head. A Dremel with a diamond blade works well, or a hacksaw can do the job. Make the slot deep enough that your flat head screwdriver will grip firmly without slipping. Move slowly and carefully to avoid damaging the surrounding plastic or metal.
Apply lubricant around the screw head and let it soak for a few minutes. This helps break down any corrosion or stuck debris that may be holding the screw in place.
Insert your flat head screwdriver into the new slot you created. Push down gently while turning counterclockwise. Go slowly and steadily to avoid stripping the new slot you just made. If the screw resists, apply more lubricant and wait another minute before trying again.
Once the screw turns, continue removing it by hand if possible. Place it in your container with other removed screws so you don’t lose them.
Repeat this process for any other stripped screws in your VESA mount holes. Take your time with each one to ensure success without causing additional damage to the mounting area.
Repairing or Reinforcing Damaged Threaded Holes
Once you remove the stripped screw, you face a choice. You can either repair the existing hole or reinforce it for better durability. Both approaches work well depending on your situation.
Thread repair inserts offer a practical solution. These small metal sleeves fit inside the damaged hole and create fresh threads. You drill out the stripped hole to a larger size, then install the insert using a special tool. The insert grabs the new hole firmly and provides threads that work like new. This method works best when you plan to reuse the same VESA mount.
Epoxy putty provides another option for quick fixes. You knead the putty until it’s uniform, then press it into the damaged hole. It hardens within hours and creates a solid base. Once dry, you can carefully drill a new hole at the correct angle. This approach costs less and requires fewer tools than inserts.
Wooden toothpicks offer a temporary fix for minor damage. Break off a toothpick inside the hole, then reinstall the screw. The wood fills the gap and gives the screw something to grip. This works best for small holes that aren’t severely damaged.
Reinforcement plates strengthen the entire mounting area. These metal or plastic plates sit behind your monitor and spread the screw load across a larger surface. They prevent future stripping by reducing pressure on any single hole.
Helicoil style inserts provide heavy duty reinforcement. These coiled wire inserts create extremely durable threads. They work best if you frequently change your VESA mount or need maximum reliability.
Start with the simplest solution that matches your needs. If the hole damage is minor, try epoxy or toothpicks first. For serious damage or frequent changes, invest in proper thread inserts.
Reinstalling Your Monitor Arm Safely
Once you’ve removed the stripped screws and repaired the threaded holes, you’re ready to reinstall your monitor arm. This step matters because improper installation can lead to the same stripping problem happening again.
Start by positioning your monitor face down on a soft, clean surface. Use a towel or blanket to protect the screen from scratches. Make sure the back of the monitor is easily accessible and well lit so you can see all four VESA holes clearly.
Align your monitor arm with the VESA mount holes on the back of your monitor. Take your time getting the positioning correct before inserting any screws. Misalignment puts stress on the holes and causes problems later.
Insert all four screws by hand first without tightening them. This approach lets you verify that each screw threads smoothly into its hole. If you feel resistance, stop and check the alignment.
Once all screws are hand tight, use your screwdriver to gradually tighten them. Work in a crisscross pattern, like tightening car wheel lugs. Tighten one screw a little, then move to the opposite corner, then repeat. This distributes pressure evenly across all four holes.
Apply firm but gentle pressure as you tighten. You want the arm to be secure, but over tightening causes the very damage you just fixed. Stop when the arm feels stable and doesn’t wobble.
Finally, carefully lift your monitor and arm together to verify everything holds properly. Check that the monitor sits level and the arm doesn’t shift when you gently push on it. Your reinstallation is complete when the setup feels solid and secure.
Preventing Future Thread Stripping
Preventing future thread stripping starts with understanding what causes the problem in the first place. Over tightening is the main culprit when installing your monitor arm. Most people tighten too hard thinking it creates a stronger connection. In reality, excessive force damages the delicate threads inside your monitor’s VESA holes.
Use the correct screw size for your monitor model. VESA mounts follow standard specifications, but monitor manufacturers sometimes use different thread depths. Check your monitor’s manual to confirm the exact screw specifications. Using screws that are too large or too small creates immediate problems.
Apply steady, moderate pressure when tightening. You want screws snug enough that your monitor arm doesn’t move or wobble. Stop tightening the moment you feel resistance. The threads should grip firmly without forcing.
Inspect your screws before installation. Look for any damage, rust, or deformation on the screw shaft or head. Damaged screws strip threads faster than quality ones. Replace any questionable screws with new ones in the correct size.
Consider the material of your monitor’s back panel. Plastic backs are more prone to thread damage than metal reinforced areas. If your monitor has plastic VESA holes, exercise extra caution during installation.
Store your monitor properly when not in use. Avoid placing heavy objects on top or applying pressure to the back panel. This prevents accidental damage to the threaded holes.
Keep installation tools in good condition. Worn screwdriver tips slip inside screw heads and cause stripping. Replace worn tools before they damage your equipment.
Document your installation settings. Write down how tight your screws felt during initial setup. This helps you maintain consistency if you ever need to reinstall your arm.
Troubleshooting Common Removal Problems
When your VESA mount screws strip, removal becomes your first challenge. A stripped screw won’t turn with a normal screwdriver because the head spins without gripping anything. You need a different approach to get it out.
The slot method works well for most situations. Use a rotary tool with a diamond blade or a hacksaw to carefully cut a straight line into the stripped screw head. Make the slot deep enough for a flat head screwdriver to grip firmly. This new slot gives your screwdriver something to catch onto.
Insert your flat head screwdriver into the slot you created. Apply downward pressure while turning slowly. The screw should begin to move. Once it starts turning, keep steady pressure and work it out gradually. Rushing this step can break your screwdriver or damage the monitor back.
If one screw is stuck, check the others too. Multiple stripped screws mean you need patience and care with each one. Work on them one at a time rather than forcing all of them at once.
Lubrication helps when screws feel seized. Apply penetrating oil around the screw head and wait several minutes before attempting removal. This loosens corrosion and makes turning easier.
Remove your monitor and arm from the wall or stand first. This gives you better access and control. Working on a flat surface with the monitor face down prevents accidents.
If the screw head breaks off before you remove it, you may need professional help. Broken screws stuck inside threaded holes require specialized extraction tools that most people don’t have at home.
Final Thoughts
Fixing a stripped VESA mount thread does not have to feel impossible. Most problems come from small mistakes like over tightening or using the wrong screw size.
Patience makes a big difference during this process. Rushing often leads to more damage and a harder repair job.
Start with the simplest fix first. A slotted screw removal or a basic thread repair often solves the issue completely.
If minor methods do not work, move to reinforcement plates or inserts. These give your monitor a stronger and more permanent mounting point.
Always test your monitor arm after any repair. Gently lift and check the connection before you trust it with your screen.
Prevention matters just as much as repair. Use correct screws, apply steady pressure, and inspect your hardware often.
Small habits like these protect your monitor for years. They also save you time and stress in the future.
Some situations need extra help. If a screw head breaks or threads are too damaged, a professional repair keeps your monitor safe.
There is no shame in asking for support. A trained technician can solve tricky problems quickly and safely.
Your monitor is an important tool for work and daily life. Taking care of its mounting system helps it perform well for a long time.
With the right steps, most VESA mount issues become simple to manage. You do not need advanced skills, just careful attention and the right approach.
Remember to check your monitor arm regularly. Small maintenance checks now prevent bigger headaches later.
Fixing stripped threads becomes easy once you understand the basics. With patience and the right method, your monitor setup stays strong, stable, and reliable for everyday use.
Frequently Asked Questions
What causes VESA mount thread stripping in the first place?
Thread stripping happens when screws turn inside the holes without gripping properly. This occurs because you used the wrong screw size or tightened too hard. Plastic or softer materials on monitor backs strip faster than metal. Over tightening is the most common culprit.
How do I remove a stripped screw from my monitor?
Use a Dremel tool or hacksaw to cut a straight slot across the screw head. Insert a flat head screwdriver into this new slot. Apply firm downward pressure while turning slowly to remove it. This method works for most stuck or stripped screws.
Can I repair stripped threads without replacing the monitor?
Yes, you have options. Thread repair inserts can restore the hole’s grip strength. These inserts fit into the damaged hole and create new threads. Reinforcement plates add extra support behind the mount. Both methods let you keep your monitor and reuse the VESA arm.
When should I ask for professional help?
If the screw head breaks off before removal, seek professional repair. If multiple screws strip and you cannot remove them, a technician has specialized tools. Some monitor materials need expert handling to avoid further damage.
How do I prevent thread stripping in the future?
Use the correct machine screw size for your monitor model. Apply steady, moderate pressure when tightening. Never force a screw that feels stuck. Check that screws fit properly before installation. These simple habits protect your monitor for years.

Hi, I’m Jessamine Rowell, the founder and voice behind ResizeMake (https://resizemake.com/), a space where I share my love for technology with the world. I write detailed and honest reviews on the latest tech products, gadgets, electronic devices, and trending Amazon items to help readers make smarter buying decisions.